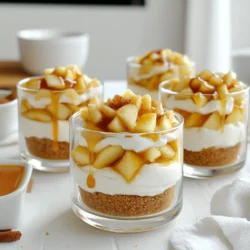
No-Bake Apple Pie Cheesecake Cups
Indulge in the delightful flavors of No-Bake Apple Pie Cheesecake Cups with this easy recipe! Perfect for any occasion, these scrumptious cups combine creamy cheesecake, spiced apples, and a buttery graham cracker crust. In just 20 minutes of prep time, you can create a sweet treat that's sure to impress. Click through to explore the full recipe and whip up this delicious dessert today! #ApplePieCheesecake #NoBakeDessert #EasyRecipes #DessertIdeas