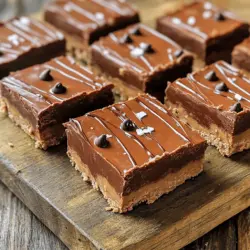
No-Bake Chocolate Peanut Butter Bars
Indulge in these delicious No-Bake Chocolate Peanut Butter Bars that are both simple to make and satisfyingly rich! With wholesome ingredients like rolled oats, natural peanut butter, and dark chocolate chips, these bars are a perfect treat for any time of the day. Ready in just 15 minutes plus a little chill time, they are a great healthy snack or dessert option. Click through to explore this easy recipe and enjoy a tasty guilt-free dessert today!