If you’re craving a tasty appetizer that’s easy to make, look no further! My Delicious Cheesy Garlic Bombs recipe will delight your taste buds and impress your guests. These little bites pack a big flavor punch. Not only are they simple to prepare, but they also make for the perfect finger food at any gathering. Join me as we dive into this cheesy, garlicky goodness that everyone will love!
What Are Delicious Cheesy Garlic Bombs?
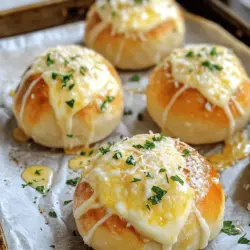
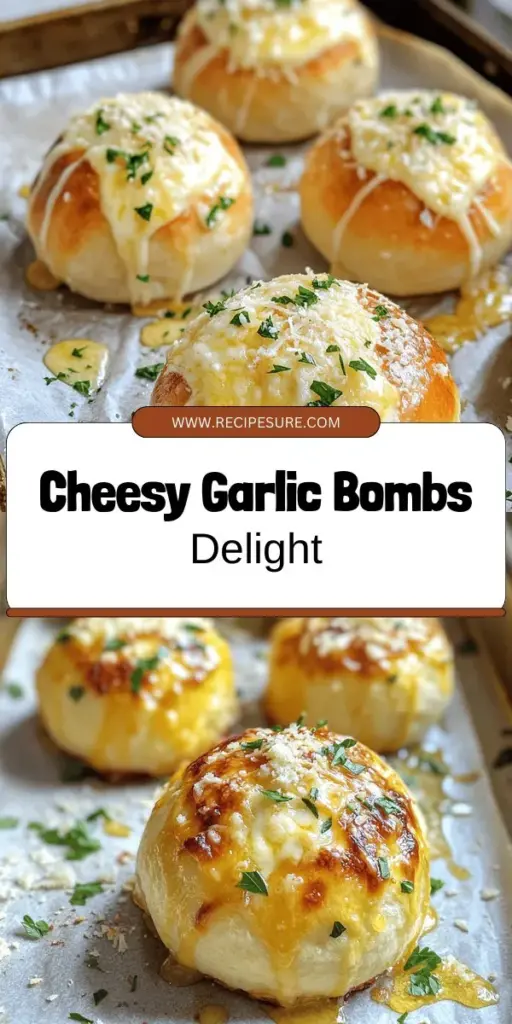
Delicious cheesy garlic bombs are a fun appetizer. They are soft, warm, and filled with gooey cheese. Each bite bursts with garlic flavor. You can enjoy them at home or serve them at parties.
Overview of the Dish
These cheesy garlic bombs use simple ingredients. They are easy to make and perfect for sharing. Imagine warm dough filled with melted mozzarella cheese and garlic butter. It’s a snack everyone loves. You can think of them as cheesy garlic knots but in a bomb shape.
Key Ingredients and Their Roles
The main ingredient is refrigerated biscuit dough. It makes the bombs fluffy and tender. Next, shredded mozzarella cheese creates that perfect gooey center. Minced garlic adds a strong and savory punch. Melted butter brings it all together, making each bite rich. Fresh parsley adds color and a hint of freshness. Italian seasoning gives it a nice herbal note. Don’t forget salt and pepper to enhance all the flavors.
Why They Are a Crowd Pleaser
These cheesy garlic bombs are a hit for many reasons. First, they are easy to make and bake quickly. Second, they are great for sharing. You can serve them warm, straight from the oven. Finally, the combination of flavors and textures delights everyone. They are a fun way to enjoy garlic and cheese.
How Do You Prepare Delicious Cheesy Garlic Bombs?
To make homemade garlic bombs, start by gathering your ingredients. You will need a can of refrigerated biscuit dough, shredded mozzarella, butter, garlic, parsley, and Italian seasoning. Each part adds flavor to these cheesy appetizers.
Step-by-Step Cooking Instructions
1. Preheat the Oven: Set your oven to 375°F (190°C). Line a baking sheet with parchment paper.
2. Make the Garlic Butter Mixture: In a small bowl, combine melted butter, minced garlic, parsley, Italian seasoning, salt, and pepper.
3. Prepare the Dough: Open the biscuit dough and separate the biscuits. Flatten each one slightly with your hands.
4. Add the Cheese: Place a tablespoon of shredded mozzarella in the center of each flattened biscuit.
5. Seal the Cheese: Fold the biscuit dough over the cheese. Pinch the edges to seal it tightly and shape it into a ball.
6. Coat with Garlic Butter: Dip each ball into the garlic butter mixture. Make sure they are well-coated.
7. Arrange on Baking Sheet: Place the garlic bombs seam side down on the prepared baking sheet.
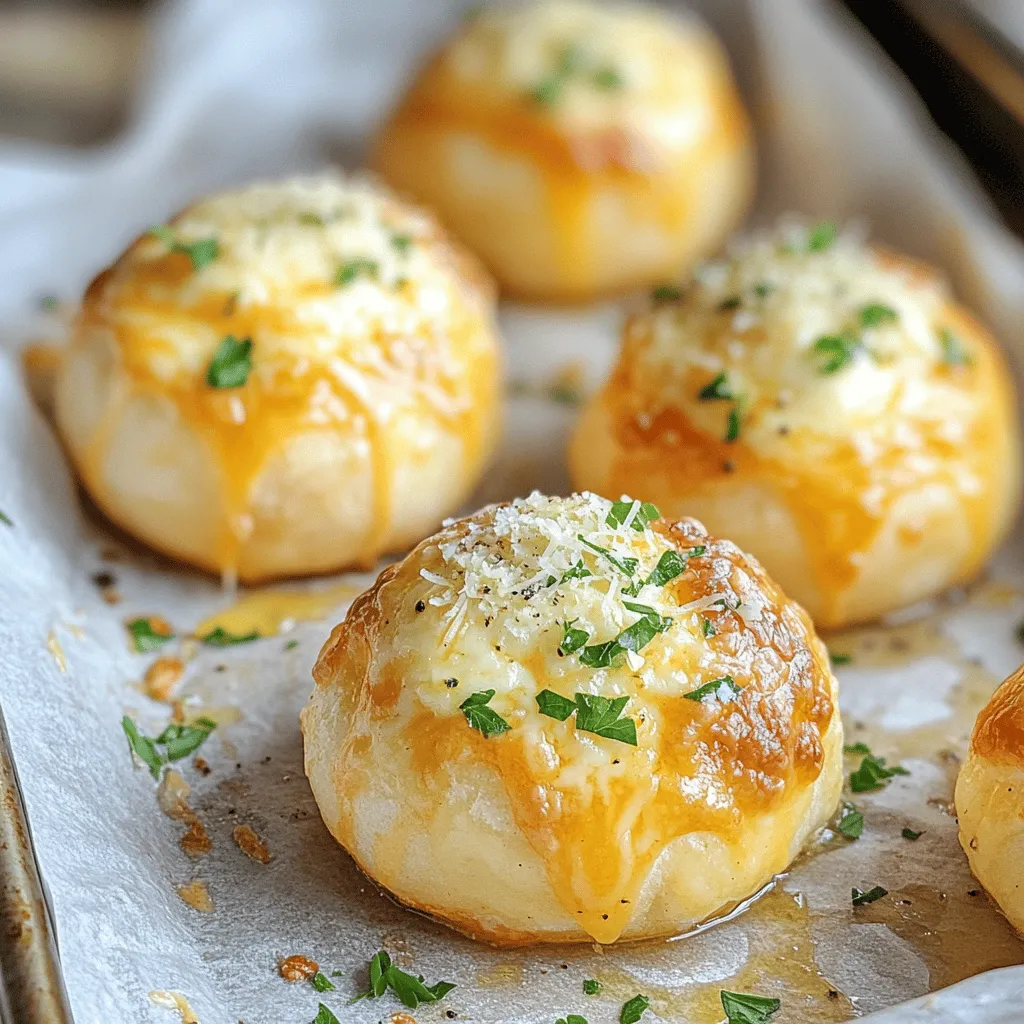
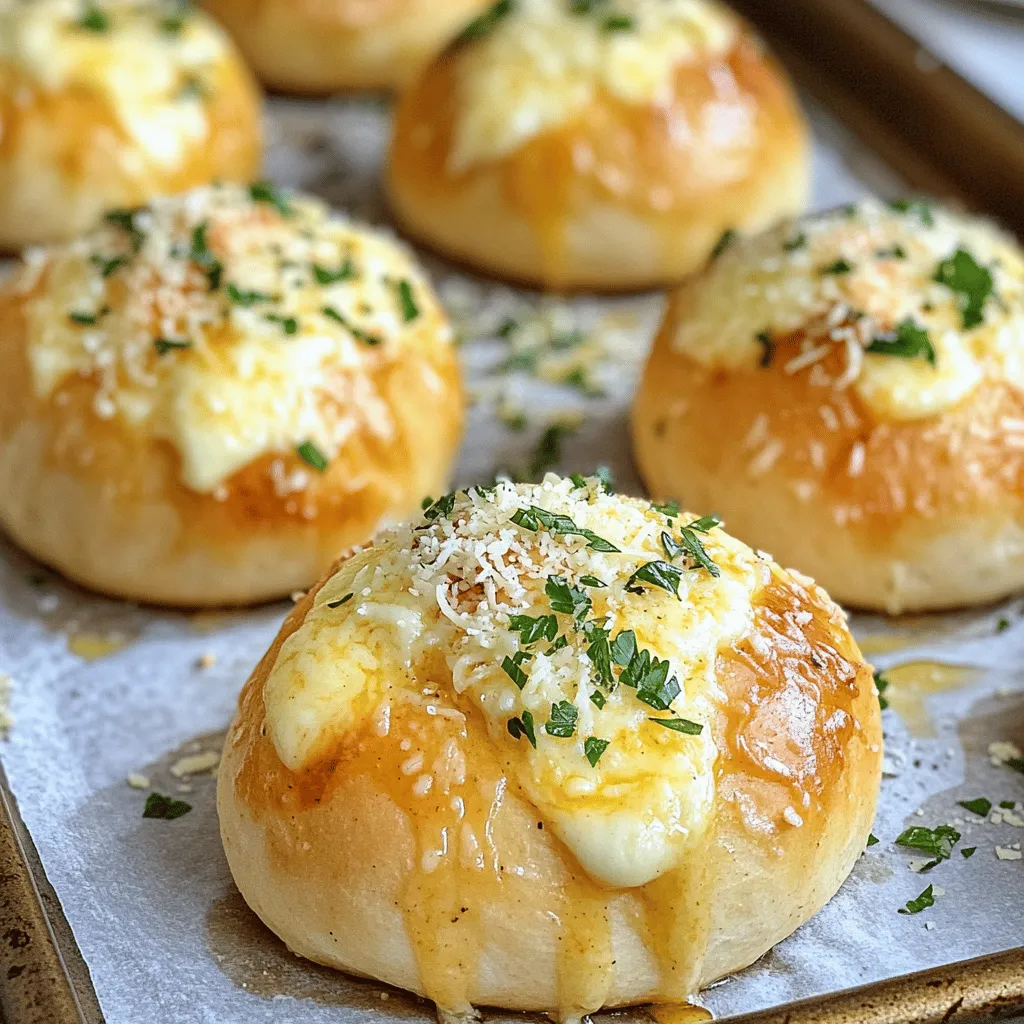
8. Add Extra Flavor: Drizzle any leftover garlic butter over the tops and sprinkle grated Parmesan cheese.
9. Bake: Bake for 15-18 minutes until golden brown and puffed up.
10. Cool and Serve: Let them cool for a few minutes before enjoying these cheesy delights.
Preparing the Garlic Butter Mixture
The garlic butter is key to the flavor. Mixing melted butter with garlic, parsley, and spices makes it rich and savory. This mixture coats the dough balls and seeps into the cheese. You can adjust the garlic amount based on your taste. More garlic means more flavor!
Tips for Shaping and Filling
When shaping the balls, make sure the cheese is completely enclosed. This step keeps the cheese from leaking out during baking. Flatten each biscuit gently to avoid tearing. If you want, you can even mix in other cheeses for a twist. Cream cheese or cheddar can add a fun new taste to your homemade garlic bombs.Enjoy your cooking!
What Are the Best Serving Suggestions for Garlic Bombs?
When serving garlic bombs, think about simple and tasty pairings. These cheesy bites shine on their own, but the right sides can make them even better.
Ideal Dipping Sauces
A good dip can take your garlic bombs to the next level. Try a warm garlic butter sauce. Just melt butter and mix in minced garlic. You can also serve marinara sauce for a nice twist. Both options add flavor and keep things fun.
Accompaniments for a Complete Meal
To make your meal heartier, pair garlic bombs with a fresh salad. A simple green salad with lemon vinaigrette works well. You could also add some roasted vegetables for color and taste. These sides balance the richness of the cheesy garlic bombs.
Creative Presentation Ideas
Make your garlic bombs look great on the table. Use a wooden board to display them. You can add small bowls of dip around the bombs. Sprinkle some chopped parsley for a pop of color. This makes for a fun and inviting spread.These ideas will make your appetizer shine!
What Variations Can You Try with Cheesy Garlic Bombs?
You can make many tasty variations of cheesy garlic bombs. Start with ingredient swaps for different flavors. Instead of mozzarella, try cheddar or pepper jack cheese. These cheeses add a nice kick. You can even mix in some cream cheese for extra creaminess.
If you want to make it a vegetarian snack, use fresh veggies. Spinach, mushrooms, or sun-dried tomatoes work well. Chop them finely and add them to the cheese in each bomb. This adds color and flavor.
For unique combinations to impress guests, think outside the box. Add cooked sausage or bacon bits for a savory twist. Use a mix of cheeses for a gourmet touch. You can even sprinkle in some herbs like rosemary or thyme for added depth.
You can also explore garlic bread alternatives. Instead of biscuit dough, use pizza dough or puff pastry. These options create a different texture and bite. Each variation offers a new taste experience.Enjoy creating your own cheesy garlic rolls to delight everyone!
How Can You Ensure Success with Your Garlic Bombs?
To make your garlic bombs pop, follow some easy baking tips. Start with fresh ingredients. Fresh garlic gives a strong flavor. If you use old garlic, the taste fades.
Common Mistakes to Avoid
One big mistake is not sealing the dough properly. If you leave gaps, cheese will ooze out. You want all that gooey cheese inside. Another mistake is not preheating the oven. A hot oven helps the bombs rise and turn golden.
Perfecting Your Baking Technique
Use parchment paper on your baking sheet. This keeps the bombs from sticking. Space them out well on the sheet. If they touch, they won’t cook evenly. Check the garlic bombs after 15 minutes. You want them golden brown and puffed up.
Storing and Reheating Tips
If you have leftovers, store them in an airtight container. They stay fresh for a few days. To reheat, place them in the oven for a few minutes. This helps keep them crispy. The microwave will make them soft, not the best choice.
With these tips, you can enjoy perfect cheesy garlic bombs every time!
What Makes These Garlic Bombs Ideal for Parties and Gatherings?
These cheesy garlic bombs make perfect party snacks. They are fun to eat and easy to share. Each bomb is warm, gooey, and packed with flavor. Guests love their cheesy goodness and garlic aroma.
You can make them ahead of time. Prepare the dough and cheese filling, then chill them. Bake just before your guests arrive. This keeps your kitchen stress-free and lets you enjoy the party.
When serving a large group, make enough to feed everyone. One batch serves 4 to 6 people, but you can double or triple it. These bombs go fast, so plan for extras.
Pair these garlic bombs with other finger foods. They taste great with marinara sauce or ranch dressing. You could even serve them alongside a fresh salad. This adds variety to your spread and keeps everyone happy.
For the best party appetizers, these garlic bombs always shine. They are a hit at any gathering, large or small.
Delicious cheesy garlic bombs are easy to make and a hit at gatherings. We discussed their key ingredients, step-by-step preparation, and serving ideas. These bites are great with dips and can suit any taste by swapping ingredients. Keep baking tips in mind for success. You will impress your guests with these fun snacks. Enjoy making them and share your tasty results!