
No Bake Strawberry Lemonade Bars Tasty Summer Treat
Looking for a refreshing summer treat that’s simple to make? You’ve come to the right place! These No Bake Strawberry

Looking for a refreshing summer treat that’s simple to make? You’ve come to the right place! These No Bake Strawberry
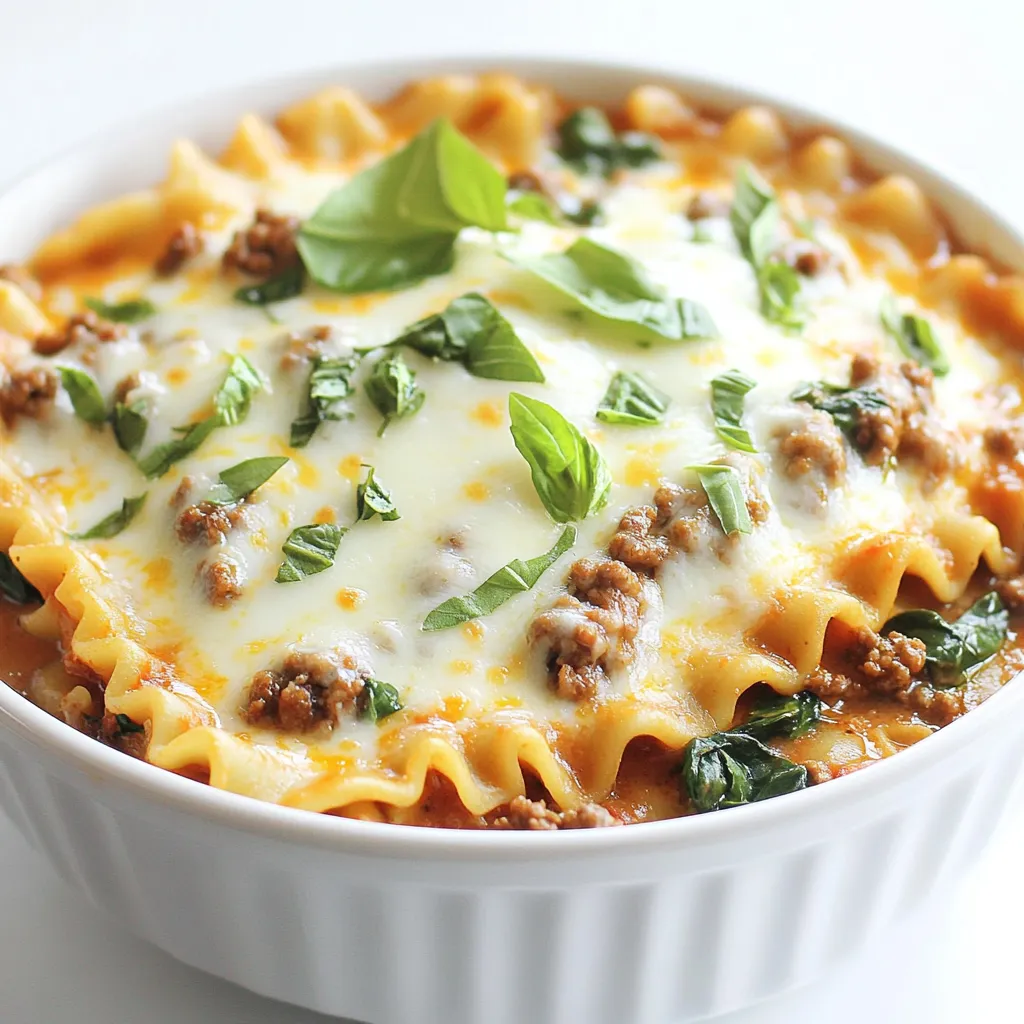
If you love lasagna but hate the fuss, I’ve got a great solution for you! This One Pot Creamy Lasagna
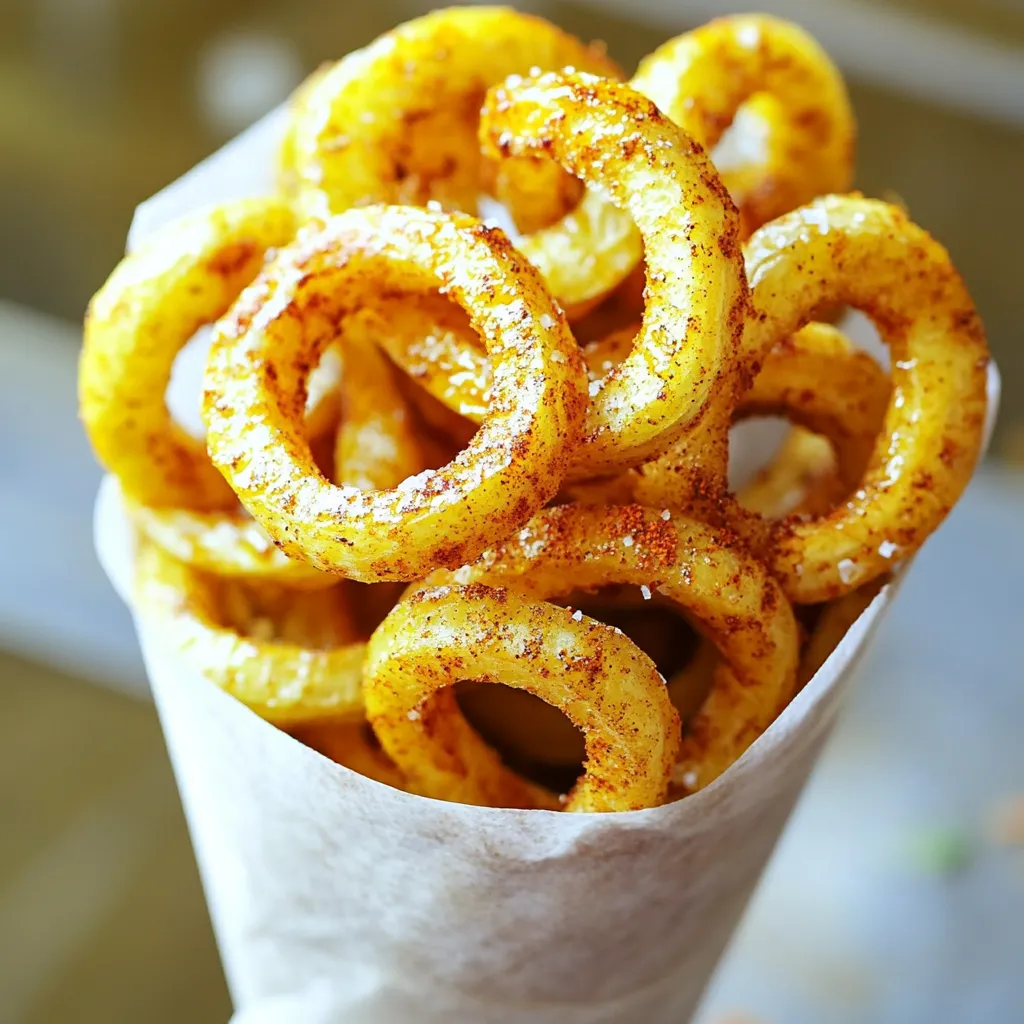
Craving crispy, curly fries without the guilt? You’re in the right place! In this easy recipe, I’ll show you how
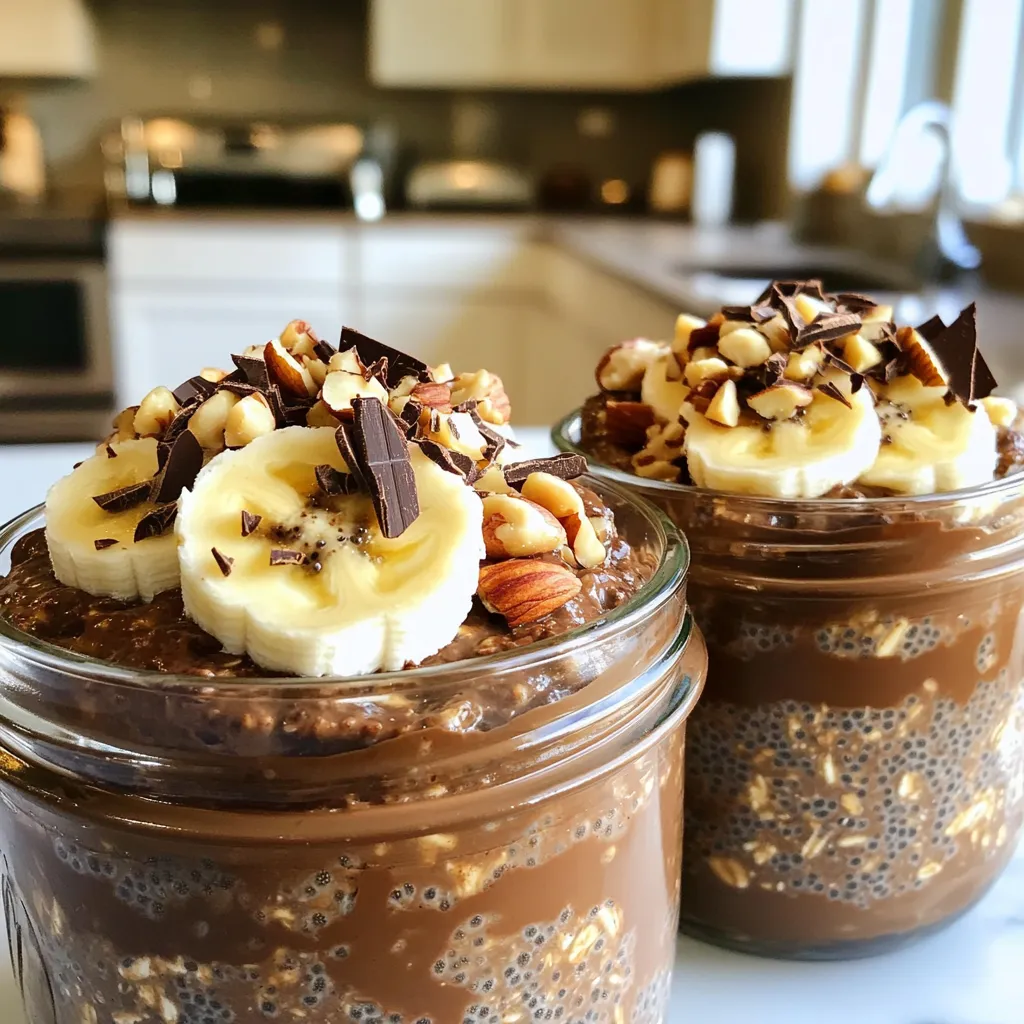
Start your day the right way with my Chocolate Espresso Overnight Oats recipe! This quick and tasty dish combines rich

Welcome to the bright world of Lemon Raspberry Loaf Cake! Are you craving a dessert that is both fresh and

Are you ready to spice up taco night? My Spicy Buffalo Cauliflower Tacos offer a delicious twist on traditional tacos.

Welcome to a tasty journey with my Garlic Herb Lamb Meatballs! If you’re looking for a simple yet flavorful meal,
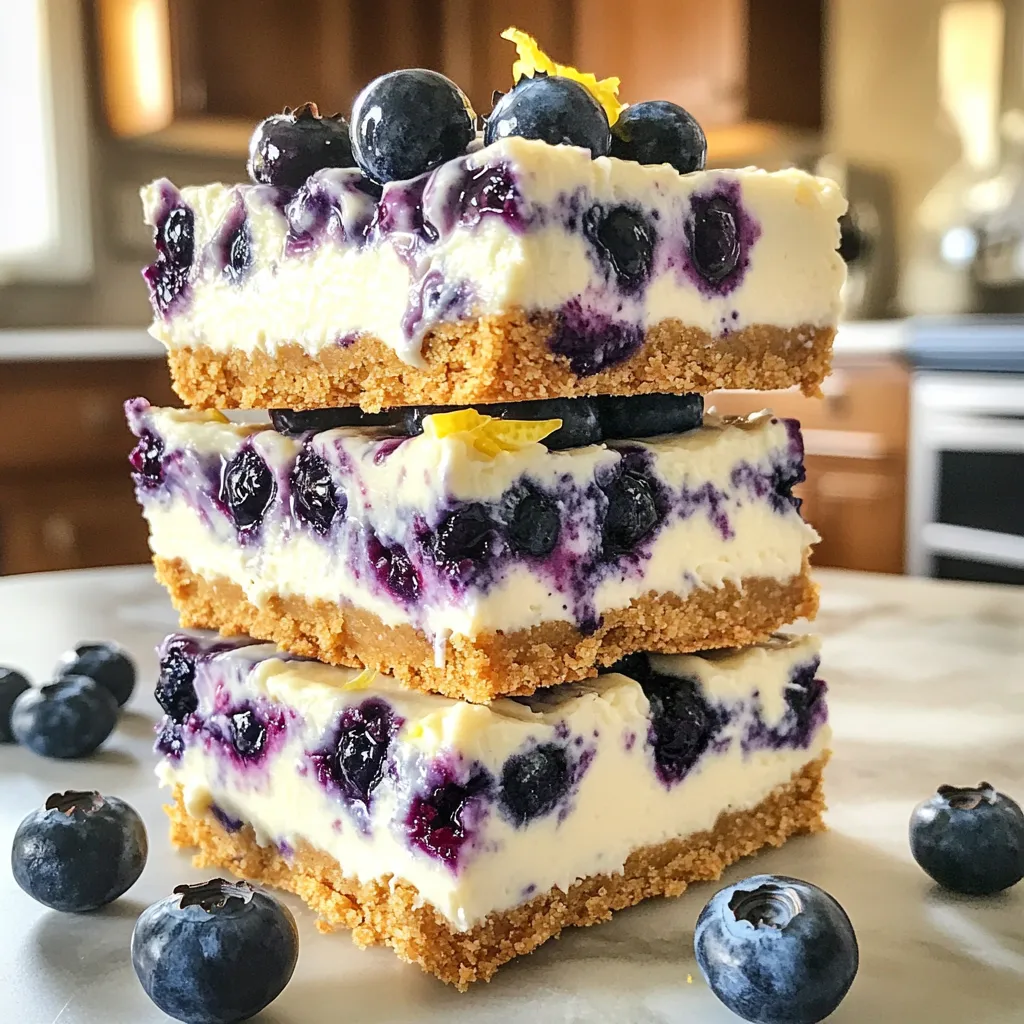
Are you ready to indulge in a delicious dessert that’s both creamy and fruity? My Greek Yogurt Blueberry Cheesecake Bars
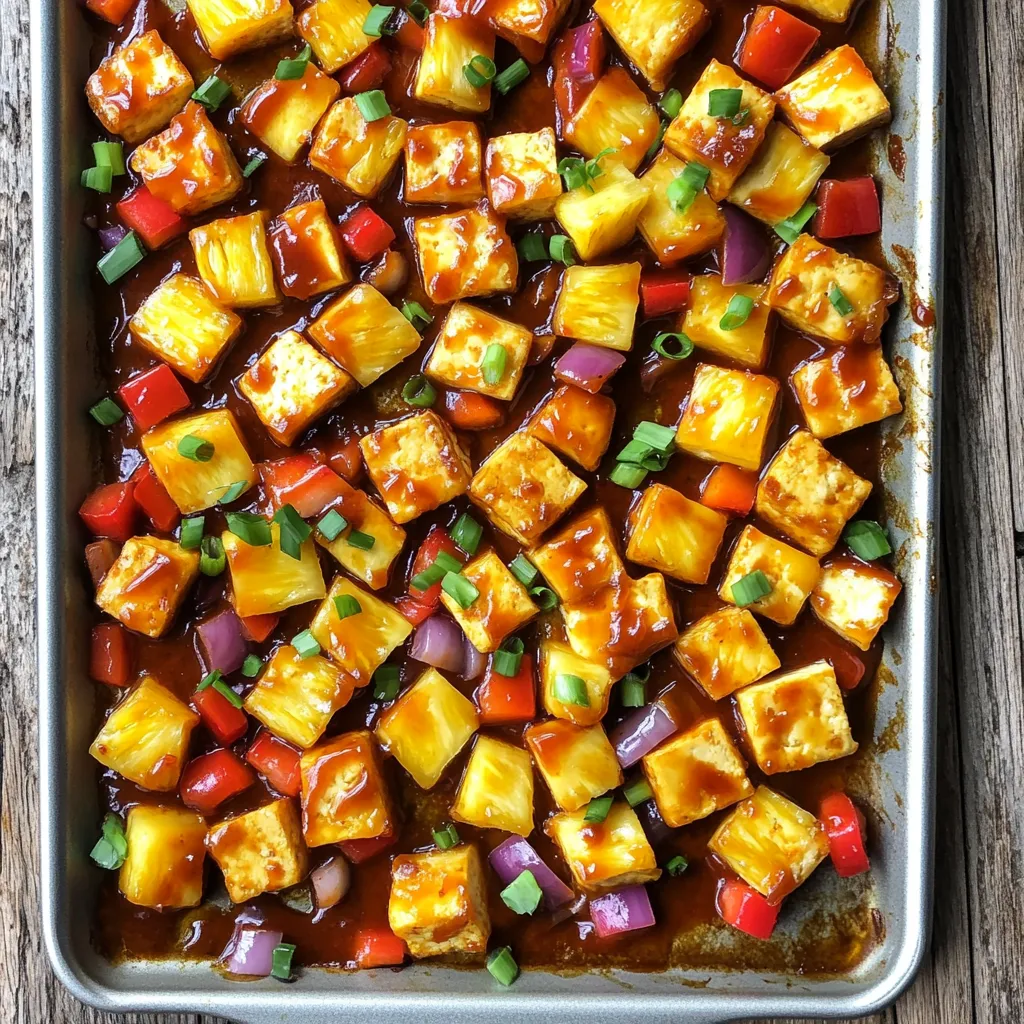
Get ready for a flavor adventure with my Sheet Pan BBQ Tofu Pineapple recipe! This dish combines juicy tofu and
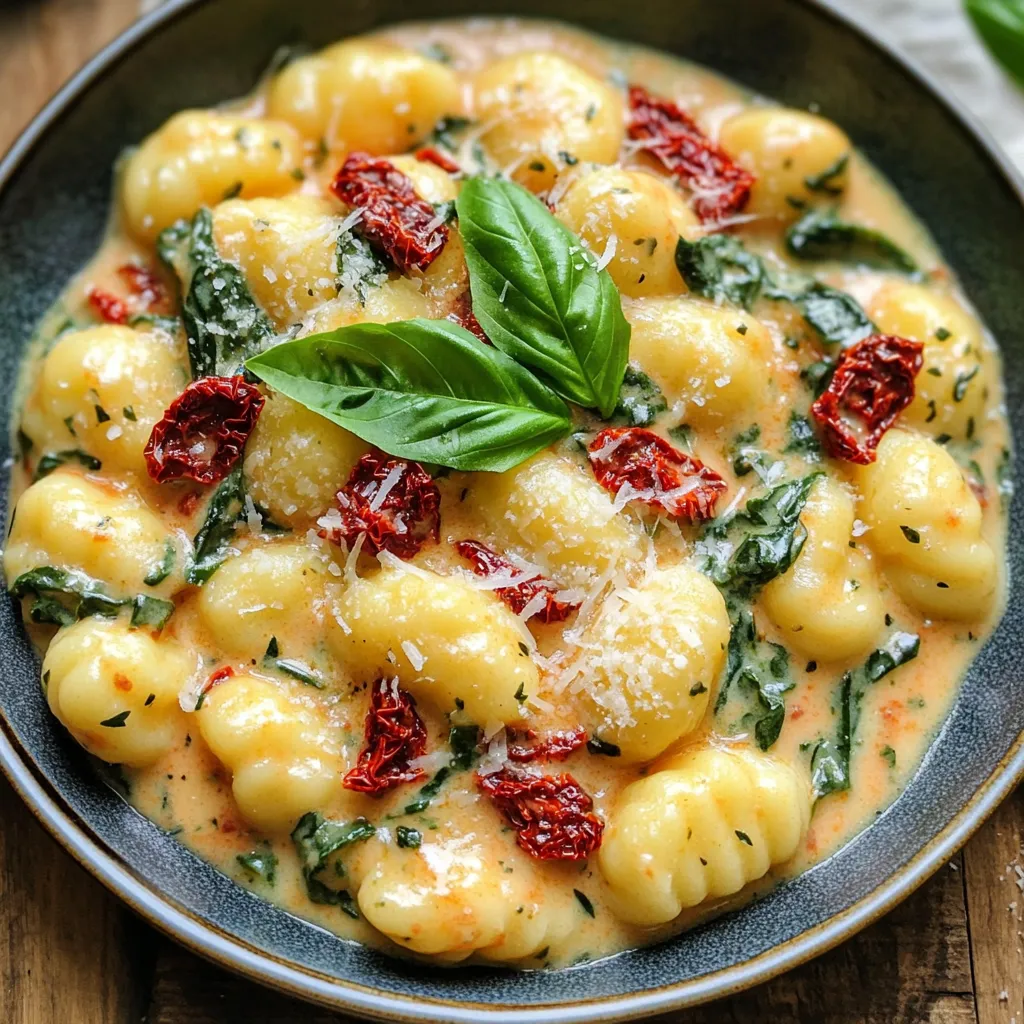
If you crave a dish that bursts with flavor and creaminess, you’re in the right place. My Creamy Sun Dried