Introduction
Homemade breadsticks have become a beloved staple in kitchens around the world, transforming any meal into a comforting and indulgent experience. Their warm, soft texture paired with the delightful crunch of a golden crust creates a perfect balance that is hard to resist. Among the myriad of flavors that can be infused into bread, the combination of garlic and herbs stands out as a classic choice that elevates breadsticks to new heights. The robust aroma of garlic, complemented by the freshness of herbs, creates a mouthwatering experience that is simply irresistible.
Whether you’re enjoying a family dinner, hosting friends for a casual gathering, or planning a festive celebration, garlicky herb butter breadsticks are the perfect accompaniment. They can be served alongside pasta, soups, or salads, or enjoyed on their own, dipped in marinara sauce or olive oil. In this article, we aim to provide you with a detailed recipe, as well as insights into making these delectable breadsticks that will leave your guests raving.
Understanding the Ingredients
To create the perfect garlicky herb butter breadsticks, it is essential to understand the role of each ingredient in this delightful recipe.
Key Ingredients and Their Roles
1. Unsalted Butter: Butter is a crucial component that adds richness and flavor to the breadsticks. Using unsalted butter allows you to control the salt content in your recipe, which is important for achieving the right flavor balance. This flexibility is especially beneficial when combining with other ingredients that may contain salt.
2. Fresh Herbs: Fresh herbs such as parsley and basil bring a vibrant, aromatic quality to the breadsticks. They not only enhance the flavor but also add a pop of color, making your breadsticks visually appealing. While dried herbs can be used in a pinch, fresh herbs provide a more robust flavor profile that significantly elevates the overall taste.
3. Garlic: Garlic is the star ingredient in this recipe, infusing the breadsticks with its pungent flavor and delightful aroma. Whether you use minced fresh garlic or garlic powder, the key is to ensure that the garlic is well-distributed throughout the butter mixture, allowing its flavor to permeate every bite.
4. Parmesan Cheese: The addition of freshly grated Parmesan cheese adds depth and richness to the breadsticks. Its nutty, savory flavor complements the garlic and herbs beautifully, enhancing the overall taste and texture of the final product.
5. Pizza Dough: The foundation of your breadsticks is refrigerated pizza dough. Using store-bought dough saves time and effort, making this recipe accessible for home cooks of all skill levels. The dough provides a chewy interior and a crisp outer layer, perfect for holding onto the herb butter mixture.
Fresh vs. Dried Herbs
The choice between fresh and dried herbs can significantly impact the flavor of your dish. Fresh herbs are generally preferred for their bright, vibrant taste and aroma, especially in a recipe like garlic herb butter breadsticks where the herbs play a prominent role. Fresh parsley and basil will provide a more pronounced flavor compared to their dried counterparts. However, if fresh herbs are unavailable, dried herbs can still be utilized; just be mindful that dried herbs are more concentrated, so you will need less than you would if using fresh.
Preparation Steps Explained
Now that you have a clear understanding of the ingredients, it’s time to dive into the preparation of these delightful garlicky herb butter breadsticks. Each step in the process is crucial for achieving the perfect texture and flavor, so let’s go through them in detail.
Preheating the Oven
One of the first steps in any baking recipe is preheating the oven. This step might seem simple, but it is paramount to successful baking. Preheating ensures that the oven reaches the desired temperature before you place the breadsticks inside. For this recipe, you will want to preheat your oven to 400°F (200°C). This temperature is optimal for creating a golden, crispy exterior while maintaining a soft and chewy interior.
Creating the Garlic Herb Butter
The next step involves making the garlic herb butter that will coat your breadsticks. This step is where the magic happens, as the combination of ingredients will create a flavorful topping that elevates your breadsticks to a whole new level. Here’s how to do it:
1. Melt the Butter: In a small saucepan, melt the unsalted butter over low heat. Be careful not to let it simmer or boil, as this can alter its flavor and texture.
2. Add the Garlic: Once the butter is melted, remove the saucepan from heat and stir in the minced garlic. Allow the garlic to infuse in the warm butter for a few minutes, which will help release its flavor. If you prefer a milder garlic flavor, you can also sauté the minced garlic in the butter for a minute or two until fragrant, but be cautious not to let it brown.
3. Mix in the Herbs and Cheese: After allowing the garlic to infuse, add the chopped fresh parsley and basil, along with the grated Parmesan cheese. Stir well to combine all the ingredients, ensuring the garlic and herbs are evenly distributed throughout the butter. This flavorful mixture will be the key to your delicious breadsticks.
Working with Refrigerated Pizza Dough
Using refrigerated pizza dough is a time-saver that doesn’t compromise on quality. Here’s how to handle and stretch the dough effectively:
1. Prepare the Dough: Remove the refrigerated pizza dough from its packaging and let it sit at room temperature for about 10-15 minutes. This will make it easier to stretch and shape.
2. Flour Your Surface: Lightly flour your work surface to prevent the dough from sticking. You can also flour your hands for easier handling.
3. Stretch the Dough: Gently stretch the dough into a rectangle, approximately 1/2 inch thick. Use your hands to pull and shape the dough, or you can use a rolling pin if you prefer. The goal is to create an even thickness throughout.
Techniques for Cutting and Twisting Breadsticks
Once your dough is prepared, it’s time to cut and shape the breadsticks. The twisting technique not only enhances the appearance but also allows the garlic herb butter to adhere better to the breadsticks, resulting in a more flavorful bite.
1. Cut the Dough: Using a sharp pizza cutter or a knife, slice the dough into strips about 1 inch wide. Depending on how thick or thin you prefer your breadsticks, you can adjust the width accordingly.
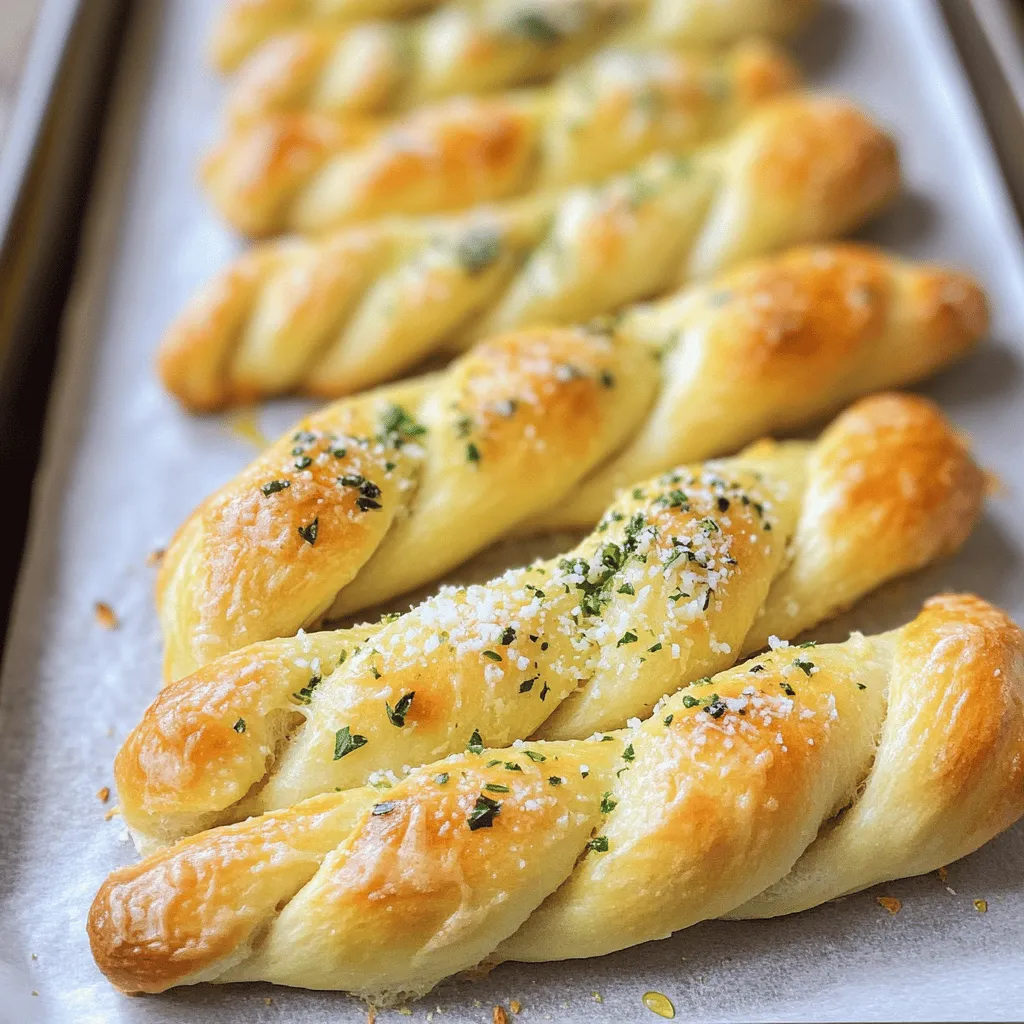
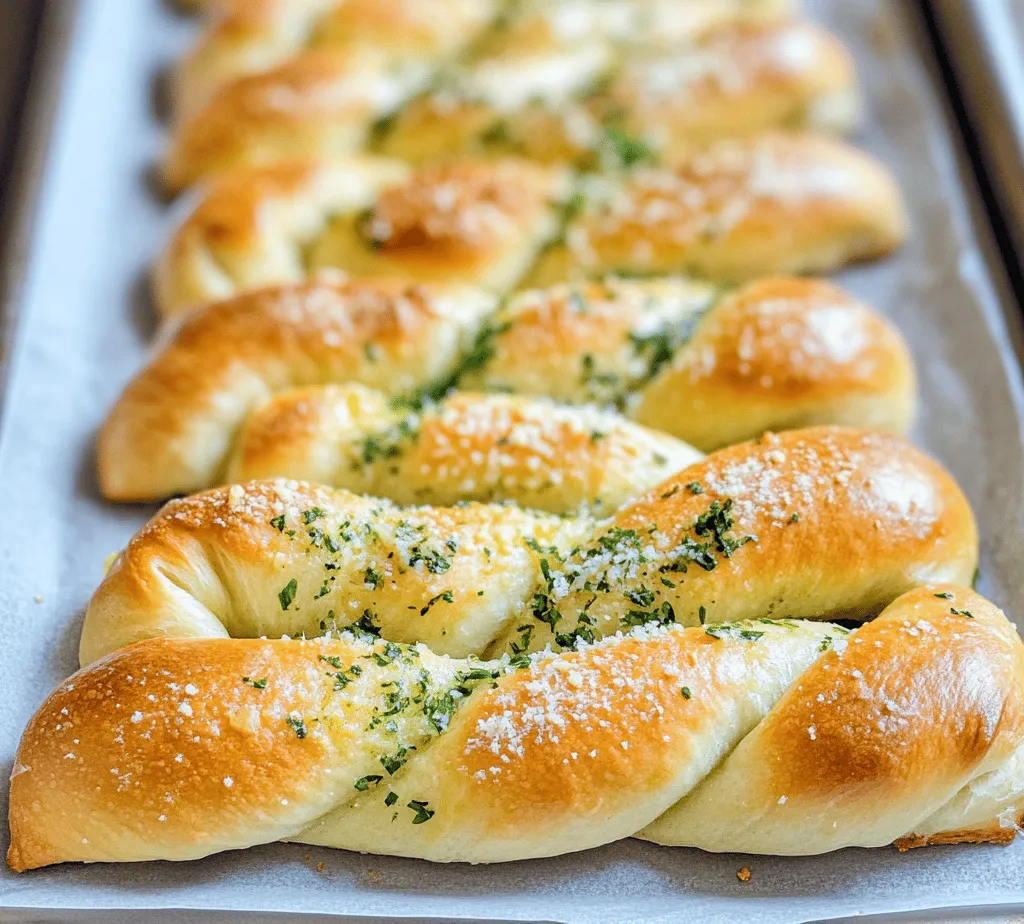
2. Twist the Strips: Take each strip of dough and gently twist them several times to create a spiral effect. This technique gives the breadsticks a beautiful shape while ensuring a delightful texture.
3. Arrange on a Baking Sheet: Place the twisted breadsticks onto a baking sheet lined with parchment paper, leaving some space between them to allow for rising during baking.
With these steps completed, you are well on your way to crafting delicious garlicky herb butter breadsticks that will be the highlight of any meal. Stay tuned for the next part of this article, where we will explore the baking process, additional tips for achieving the perfect breadsticks, and answers to common questions about this delightful recipe. Enjoy the journey of bringing these irresistible breadsticks to life!
Baking the Breadsticks
Once you’ve prepared the dough for your garlicky herb butter breadsticks, it’s time to move on to the baking process, which is crucial for achieving that perfect texture and flavor. Preheat your oven to 375°F (190°C). This temperature is ideal for allowing the breadsticks to rise beautifully while developing a crispy exterior.
As you prepare to bake, here’s what to keep in mind regarding the baking time: typically, these breadsticks will need about 15 to 20 minutes in the oven. However, baking times can vary based on your oven and the thickness of your breadsticks. It’s best to keep an eye on them as they bake. Look for visual cues that indicate they are done: the breadsticks should be golden brown and should emit a delightful, fragrant aroma that fills your kitchen. The color is an excellent indicator of doneness; a light golden hue will signal that your breadsticks are ready to be taken out of the oven.
Once they are baked to perfection, remove them from the oven and brush them lightly with a drizzle of olive oil. This step not only enhances the flavor but also adds moisture, ensuring your breadsticks remain soft and tender on the inside while still being crispy on the outside. The olive oil will give them a beautiful sheen, making them visually appealing for serving.
Serving Suggestions
Presenting your garlicky herb butter breadsticks can elevate the dining experience, whether it’s for a cozy family dinner or a gathering with friends. Arrange the breadsticks in a basket lined with a clean cloth to keep them warm. You can also place them on a decorative platter. For a touch of elegance, sprinkle some additional fresh herbs on top or even a bit of coarse sea salt to enhance their flavor.
Consider pairing your breadsticks with various dips. A small bowl of marinara sauce or a creamy pesto can complement the garlic and herb flavors beautifully. If you want to impress your guests further, you could offer a selection of dips, including a tangy balsamic vinegar and olive oil mix, or even a garlic aioli for those who crave an extra kick.
Variations and Customizations
One of the best features of garlicky herb butter breadsticks is their versatility. You can easily customize the recipe to suit different dietary preferences or to experiment with flavors. For those looking for vegan options, you can substitute the butter with a plant-based alternative and use non-dairy milk in the dough. Additionally, be sure to check the labels on your yeast to confirm that it is vegan-friendly.
Exploring different herbs and spices is another fantastic way to create unique flavors in your breadsticks. Instead of the classic garlic and herb blend, consider using rosemary or thyme for an aromatic twist. You could even incorporate spices such as red pepper flakes for a bit of heat or smoked paprika for a subtle smoky flavor. These small changes can transform the entire dish and make it your own.
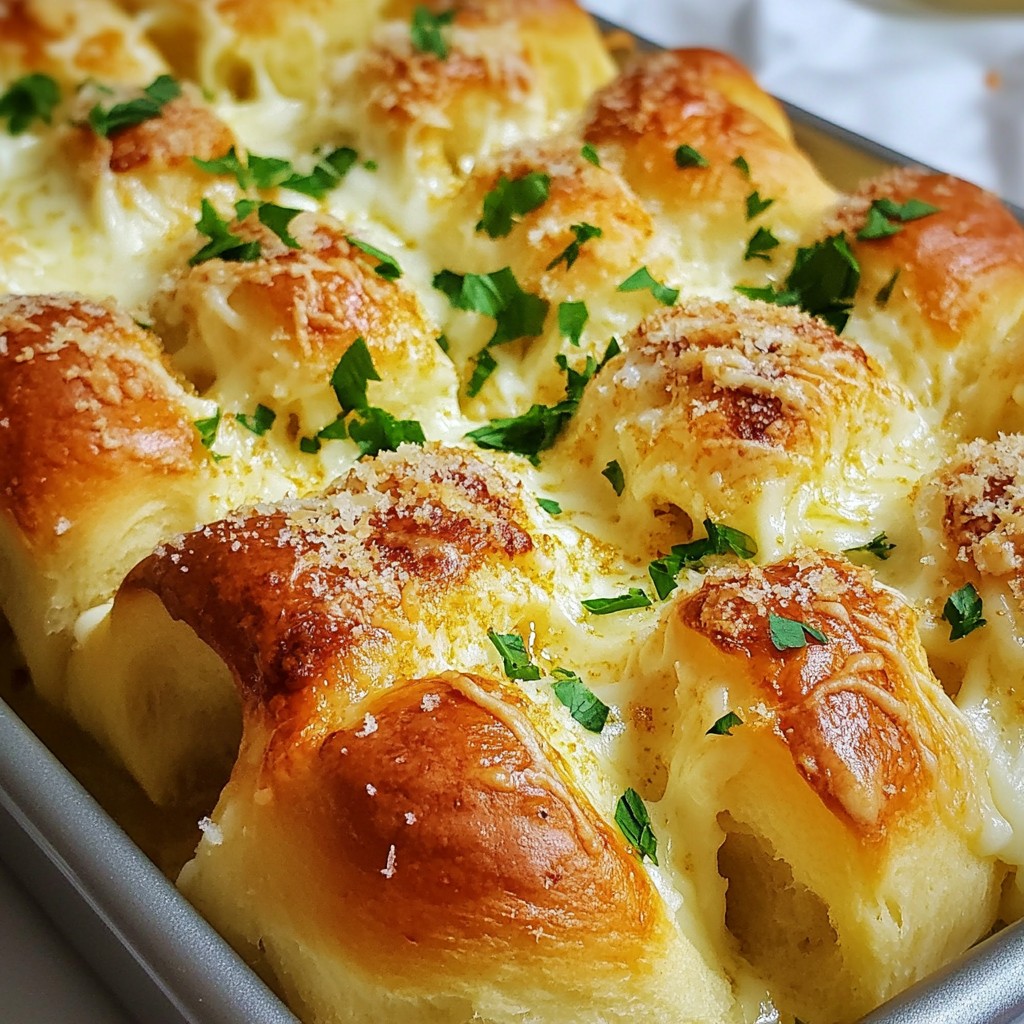
If you want to take your breadsticks to the next level, consider adding toppings or fillings. Shredded cheese, such as mozzarella or parmesan, can be sprinkled on top before baking to create a cheesy crust. Alternatively, you could incorporate cheese into the dough itself or stuff the breadsticks with a mixture of cheese and herbs before rolling them out. The possibilities are endless!
Nutritional Information
When it comes to enjoying delicious breadsticks, understanding their nutritional content can help you incorporate them into balanced meals. On average, one serving of garlicky herb butter breadsticks contains approximately 150 calories, 6 grams of fat, 20 grams of carbohydrates, and 4 grams of protein. These values can vary based on the specific ingredients and portion sizes you choose.
Incorporating these breadsticks into balanced meals is easy. Serve them alongside a fresh salad or a hearty soup for a satisfying and wholesome dinner. The garlic and herbs used in the recipe also contribute notable health benefits. Garlic, known for its immune-boosting properties, can help reduce blood pressure and improve cholesterol levels. Fresh herbs add not only flavor but also essential vitamins and antioxidants that are beneficial for overall health.
Conclusion
Garlicky herb butter breadsticks are not only simple to make but also incredibly delicious, making them a perfect addition to any meal. The combination of garlic, fresh herbs, and the buttery goodness creates a delightful treat that will impress your family and friends alike. Whether you serve them as an appetizer, a side dish, or a snack, these breadsticks are sure to be a hit.
We encourage you to try making these breadsticks at home for your next meal or gathering. The joy of baking and sharing homemade treats with loved ones is unmatched. Plus, the satisfaction of pulling a tray of warm, fragrant breadsticks from the oven is an experience you won’t forget. Enjoy experimenting with different flavors and variations, and don’t hesitate to make this recipe your own. Happy baking!