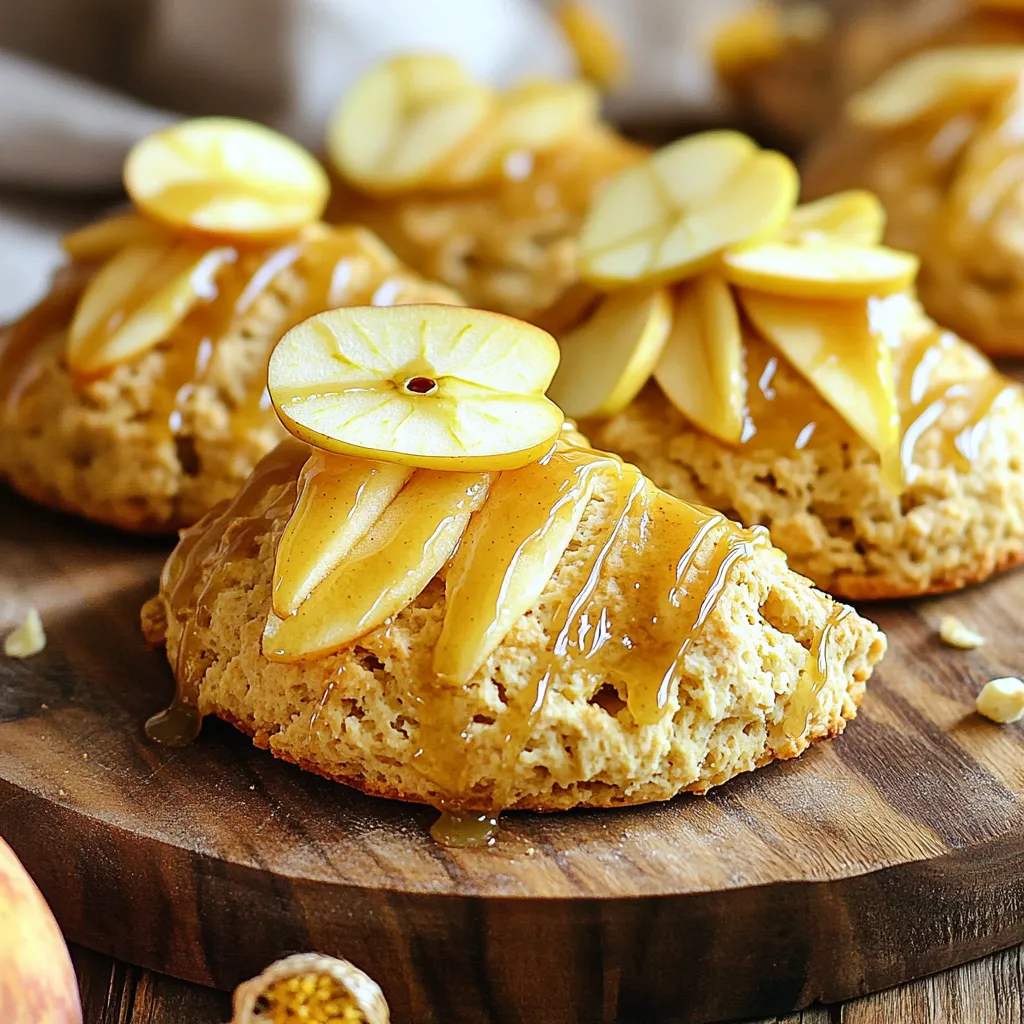
Fall is here, and nothing says cozy like warm Maple Glazed Apple Cider Scones. These scones blend sweet apple cider and warm spices, making them the perfect treat for chilly mornings. In this post, I’ll guide you through each step, from gathering the right ingredients to baking them to golden perfection. Let’s dive into this delightful recipe that will fill your home with the aroma of fall!
Why I Love This Recipe
- Delicious Flavor Combination: The blend of sweet maple syrup and tart apples creates a delightful taste that is perfect for any occasion.
- Perfectly Tender Texture: These scones are soft and flaky, making them a comforting treat with a cup of tea or coffee.
- Quick and Easy to Make: With a total time of just 35 minutes, you can whip up a batch of these tasty scones without much effort.
- Beautiful Presentation: Topped with a maple glaze, these scones look as good as they taste, making them a great choice for gatherings.
Ingredients
Essential Ingredients
– 2 cups all-purpose flour
– 1/4 cup granulated sugar
– 1 tablespoon baking powder
– 1/2 teaspoon salt
– 1/2 teaspoon ground cinnamon
– 1/4 teaspoon ground nutmeg
Additional Ingredients
– 1/2 cup unsalted butter, cold and diced
– 1/2 cup apple cider
– 1/2 cup chopped apples (preferably Granny Smith)
– 1/2 teaspoon vanilla extract
Glaze Ingredients
– 1 cup powdered sugar
– 2 tablespoons pure maple syrup
– 1-2 tablespoons additional apple cider (for consistency)
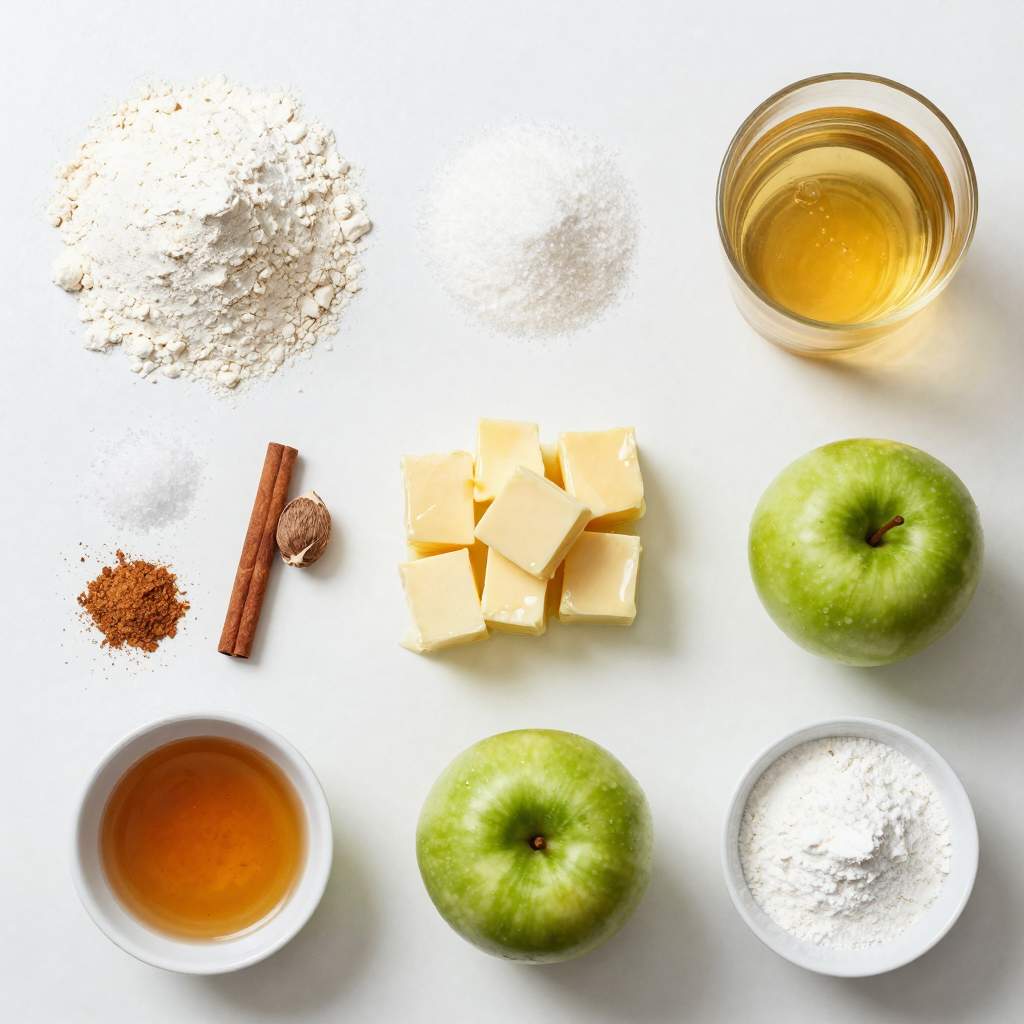
When I make these scones, I always start with the essential ingredients. All-purpose flour gives the right base. Granulated sugar adds a hint of sweetness. Baking powder helps them rise perfectly. Ground spices like cinnamon and nutmeg bring in that warm, fall flavor.
Next, I grab the additional ingredients. Diced unsalted butter is key; it keeps the scones flaky. Apple cider adds moisture and flavor. I prefer using Granny Smith apples for their tartness, which balances the sweetness. A touch of vanilla extract rounds out the taste.
Finally, I prepare the glaze. Powdered sugar gives it that sweet touch. Pure maple syrup adds depth. I adjust the consistency with apple cider. This glaze makes the scones shine and taste even better.
Step-by-Step Instructions
Preparing the Dough
– In a large bowl, mix together:
– 2 cups all-purpose flour
– 1/4 cup granulated sugar
– 1 tablespoon baking powder
– 1/2 teaspoon salt
– 1/2 teaspoon ground cinnamon
– 1/4 teaspoon ground nutmeg
This blend gives the scones their flavor. Next, cut in the cold butter. Use 1/2 cup unsalted butter, diced. You want to use a pastry cutter or your fingers. Keep mixing until the mix looks like coarse crumbs. This step is key for a flakey texture.
Combining Wet Ingredients
– In a separate bowl, whisk together:
– 1/2 cup apple cider
– 1/2 cup chopped apples (preferably Granny Smith)
– 1/2 teaspoon vanilla extract
These wet ingredients add moisture and flavor. The apple cider makes the scones taste like fall, while the apples add texture.
Forming and Baking Scones
– Now, pour the wet mix into the dry mix. Stir gently until just combined. It’s okay to have some lumps.
– Turn the dough onto a floured surface. Knead it a few times until it holds together.
– Pat the dough into a circle about 1 inch thick. Cut it into wedges, like a pizza.
– Place the wedges on a baking sheet lined with parchment. Leave space between them.
– Bake at 400°F (200°C) for 15-18 minutes. Look for a light golden color on top.
– Let them cool on a wire rack.
Pro Tips
- Chill the Butter: Make sure your butter is very cold before adding it to the flour mixture. This helps create flaky layers in the scones.
- Avoid Overmixing: Mix the dough until just combined. Overmixing can lead to tough scones.
- Use Fresh Apples: Opt for fresh, crisp apples like Granny Smith for a tart contrast to the sweet maple glaze.
- Adjust Glaze Consistency: Add apple cider gradually to the glaze until you achieve your desired drizzling consistency.
Tips & Tricks
Best Practices for Scone Texture
Cold butter is key for scones. It keeps the dough flaky and light. When you mix it in, the cold butter creates little pockets of air. This helps the scones rise well in the oven. I always use a pastry cutter or my fingers to blend the butter into the flour. You want crumbs, not a paste.
Avoiding overmixing is crucial. Mix just until the ingredients come together. A few lumps are fine. Overmixing makes the scones tough. You want them soft and tender.
Glaze Consistency Tips
Getting the glaze right can make your scones shine. Start with powdered sugar and maple syrup. Add apple cider a little at a time. You want a smooth, thick drizzle. If it’s too runny, your glaze will slide off. If it’s too thick, it won’t drizzle well. Aim for a consistency that flows nicely off the whisk.
Presentation Ideas
Serving scones is an art. Warm scones look best on a rustic wooden board. This gives a cozy fall vibe. Add thin apple slices next to the scones for color. A drizzle of extra maple syrup on top adds sweetness and charm. You can also sprinkle a little cinnamon for a nice touch.
Variations
Flavor Variations
You can easily change the taste of your scones. Try adding spices like cardamom or ginger for a warm kick. These spices blend well with apple cider and make the scones unique. You can also mix in nuts or raisins. Chopped walnuts or pecans add crunch. Raisins bring sweetness and chewiness. Both options enhance the flavor and texture.
Dietary Modifications
If you need gluten-free scones, use gluten-free flour blend instead of all-purpose flour. Many blends work well in this recipe. For a vegan option, swap the butter for coconut oil or plant-based butter. Make sure to use a non-dairy milk in place of apple cider if you prefer. These tweaks help everyone enjoy these delicious scones.
Seasonal Adjustments
You can switch up the fruit based on the season. In autumn, use pears or dried cranberries. Both options add a fresh taste. Pears offer a sweet, juicy bite, while cranberries provide a tart contrast. Adjusting the fruit gives your scones a new twist each time you bake them.
Storage Info
Best Storage Practices
To keep your maple glazed apple cider scones fresh, store them in an airtight container. Line the container with parchment paper to absorb excess moisture. This helps keep the scones soft and prevents them from getting soggy. Place them in a cool, dry place, and they will stay good for about three days. For longer storage, consider refrigerating them, which can extend their life to about a week.
Reheating Instructions
When you are ready to enjoy your scones again, reheating is simple. Preheat your oven to 350°F (175°C). Place the scones on a baking sheet and warm them for about 5 to 10 minutes. This method helps restore their soft texture and brings back that fresh-baked taste. You can also microwave them for about 15 to 20 seconds, but this may make them a bit chewy.
Freezing Tips
Freezing scones is a great way to enjoy them later. If you want to freeze them before baking, shape the dough into wedges and freeze them on a baking sheet. Once frozen, transfer them to a zip-top bag. They can stay in the freezer for up to three months. When you’re ready to bake, no need to thaw; just add a few extra minutes to the bake time. If you prefer to freeze baked scones, let them cool completely, then wrap each one in plastic wrap before placing them in a freezer bag. They will keep well for about two months.
FAQs
Can I substitute apple cider with something else?
Yes, you can use apple juice instead of apple cider. The flavor will be slightly different, but it will still taste good. You might also try using a mix of apple juice and a splash of vinegar for a tangy twist.
How do I know when the scones are done baking?
Look for a light golden color on top. The edges should be firm but soft when you touch them. You can also insert a toothpick in the center; it should come out clean if they are ready.
Can I make the dough ahead of time?
Yes, you can prepare the dough earlier. Wrap it tightly in plastic wrap and store it in the fridge for up to 24 hours. Just remember to let it sit at room temperature for a bit before baking.
What’s the difference between scones and biscuits?
Scones are sweeter and often contain fruits or other flavors. They have a crumbly texture and are denser. Biscuits are flaky, buttery, and less sweet. They are often served with savory dishes.
In this blog post, we explored how to make delicious scones. We discussed key ingredients like all-purpose flour, sugar, and spice. I shared step-by-step instructions for preparing the dough, combining wet ingredients, and baking. We also looked at tips for the best texture and glaze. Don’t forget to try flavor variations, storage tips, and answers to common questions. Scones are fun to make and customize. Enjoy baking them for friends and family!
