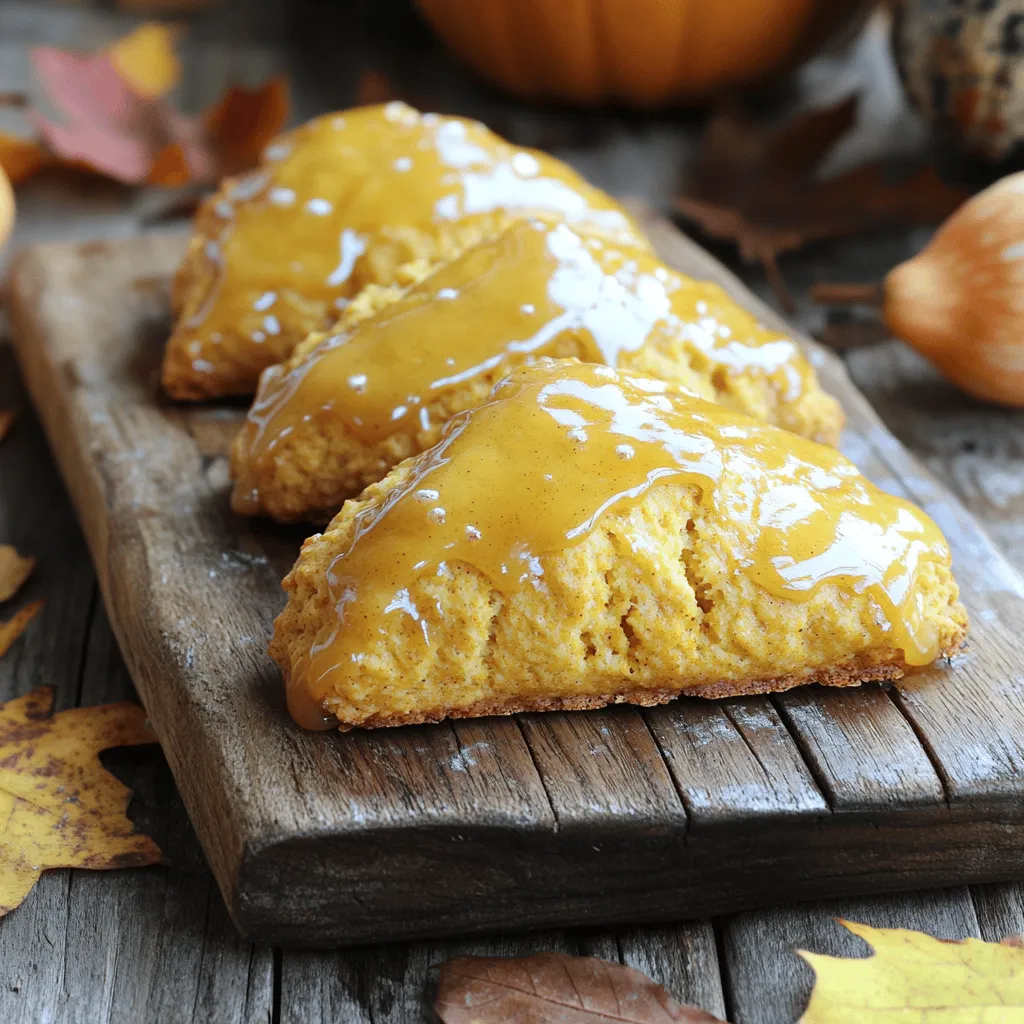
Fall mornings call for something warm and sweet, and these Maple Glazed Pumpkin Scones fit the bill perfectly. With their rich pumpkin flavor and a sticky maple glaze, these scones are a treat you need to try. I’ll guide you through easy steps to bake these delicious treats, share tips for the best texture, and suggest fun variations. Get ready to enjoy cozy mornings with the taste of autumn in every bite!
Why I Love This Recipe
- Delicious Flavor: The combination of pumpkin and warm spices creates a comforting and festive flavor profile that is perfect for any fall gathering.
- Easy to Make: This recipe is straightforward, making it accessible for bakers of all skill levels, from beginners to experienced home chefs.
- Versatile Treat: These scones can be enjoyed warm or at room temperature, making them a great addition to breakfast, brunch, or as an afternoon snack.
- Irresistible Glaze: The maple glaze adds a sweet and glossy finish that elevates the scones to a whole new level of deliciousness.
Ingredients
Main Ingredients for Maple Glazed Pumpkin Scones
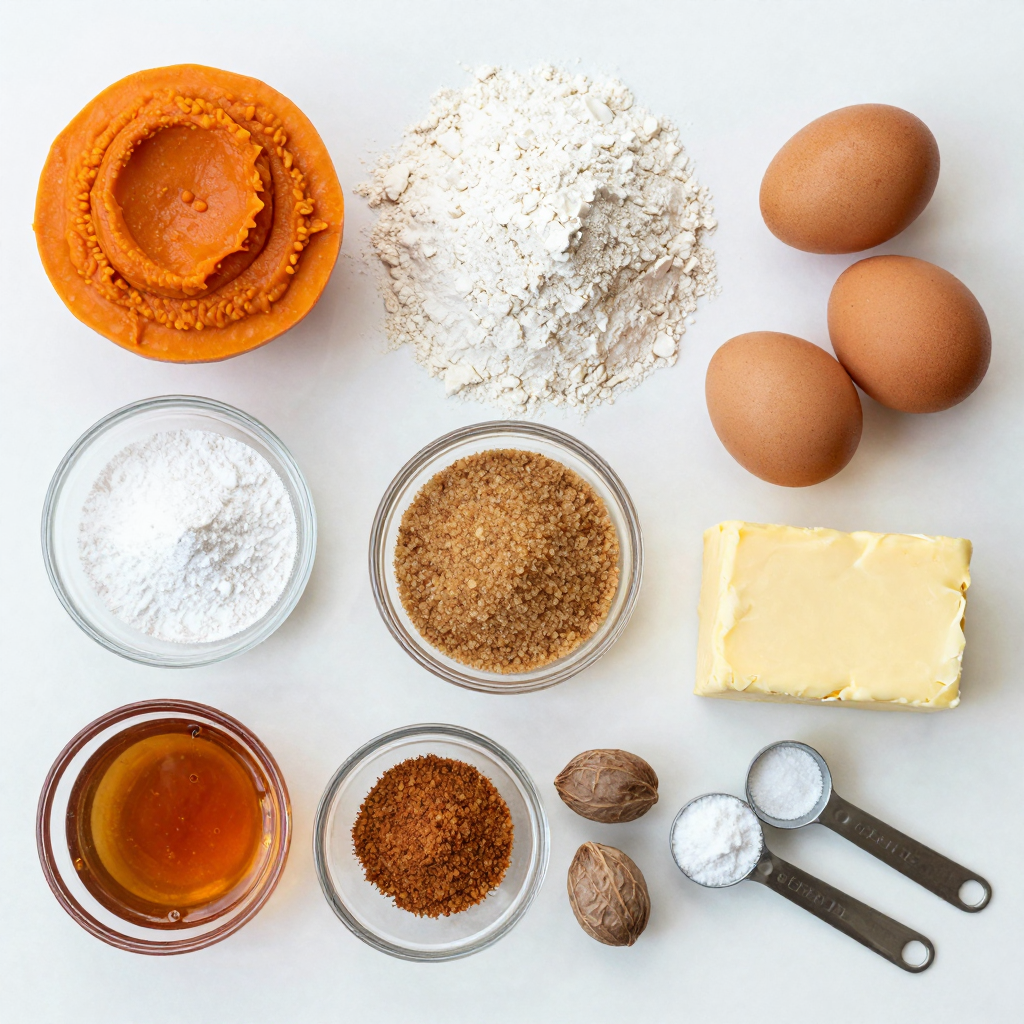
To make these delightful scones, you need some key ingredients. Here’s what I use:
– 2 cups all-purpose flour
– 1/2 cup brown sugar, packed
– 2 tsp baking powder
– 1/2 tsp baking soda
– 1/2 tsp ground cinnamon
– 1/4 tsp ground nutmeg
– 1/4 tsp ground ginger
– 1/4 tsp salt
– 1/2 cup unsalted butter, cold and cubed
– 3/4 cup pumpkin puree
– 1/2 cup heavy cream
– 1 tsp vanilla extract
These ingredients work together to create a moist and tender scone. The pumpkin adds a rich flavor and a lovely orange hue.
Ingredients for Maple Glaze
The sweet maple glaze makes these scones shine. For the glaze, you will need:
– 1 cup powdered sugar
– 3 tbsp pure maple syrup
– 1-2 tbsp milk (as needed for consistency)
Mix these ingredients to create a smooth, shiny glaze. It adds a perfect touch of sweetness to your scones.
Optional Ingredients for Customization
Want to switch things up? Here are some optional ingredients to try:
– Chopped nuts, like walnuts or pecans
– Chocolate chips for extra sweetness
– Dried cranberries or raisins for a fruity twist
Feel free to experiment! These additions can give your scones a unique flavor.
Step-by-Step Instructions
Preparation Steps
First, gather all your ingredients. You need flour, brown sugar, baking powder, baking soda, spices, salt, butter, pumpkin puree, heavy cream, and vanilla. In a large bowl, whisk together the flour, brown sugar, baking powder, baking soda, cinnamon, nutmeg, ginger, and salt. Mix them well until they are combined.
Next, add the cold butter, cut into cubes. Use your hands or a pastry cutter to mix the butter into the dry ingredients. You want the mixture to look like coarse crumbs.
In another bowl, combine the pumpkin puree, heavy cream, and vanilla extract. Stir this mixture until it is smooth. Now, pour this pumpkin mixture into the dry ingredients. Gently stir with a spatula until just combined. Be careful not to overmix.
Baking Instructions
Turn the dough out onto a lightly floured surface. Pat the dough into a rectangle, about an inch thick. Cut the dough into triangles for scones, or use a round cutter if you prefer.
Place the scones on a baking sheet lined with parchment paper. Make sure to space them out. Preheat your oven to 400°F (200°C) and bake the scones for 15 to 20 minutes. They should be golden brown on top. Test with a toothpick; it should come out clean.
Glazing the Scones
While the scones bake, prepare the maple glaze. In a small bowl, whisk together the powdered sugar and maple syrup. Add milk a little at a time until you have a smooth, drizzling consistency.
Once the scones are out of the oven, let them cool for a few minutes. Drizzle the warm maple glaze over each scone. This adds sweetness and makes them even more delicious. You can serve them warm or at room temperature. Enjoy your homemade Maple Glazed Pumpkin Scones!
Pro Tips
- Use Cold Butter: Ensure your butter is very cold when you cut it into the flour; this helps create flaky layers in your scones.
- Don’t Overmix: When combining wet and dry ingredients, mix just until combined. Overmixing can lead to tough scones.
- Chill the Dough: For extra flaky scones, consider chilling the dough for about 30 minutes before cutting and baking.
- Adjust Glaze Consistency: If your maple glaze is too thick, add more milk a little at a time until you reach your desired drizzling consistency.
Tips & Tricks
Ensuring Perfect Scone Texture
To get that light and fluffy texture, use cold butter. It helps create layers in the scone. Cut the butter into the flour until it looks like coarse crumbs. Avoid overmixing the dough. Just mix until it is barely combined. This keeps the scones tender.
Cooling and Glazing Tips
After baking, let the scones cool for about five minutes. This helps the glaze stick better. Drizzle the maple glaze while the scones are still warm. It melts slightly, soaking into the scone. For a thicker glaze, add less milk. For a thinner glaze, add more milk.
Best Practices for Ingredient Substitutions
You can swap the all-purpose flour for a gluten-free blend. Make sure it has a binding agent. If you don’t have heavy cream, use whole milk. The scones will still taste great. For a dairy-free option, try coconut cream. You can also use pumpkin spice if you lack individual spices.
Variations
Alternative Flavors and Add-Ins
You can change up the flavor of these scones easily. Try adding chocolate chips for sweetness. Dried cranberries or walnuts add a nice crunch. You could even mix in some orange zest for a fresh twist. Just keep the balance of wet and dry ingredients in mind.
Gluten-Free and Vegan Adaptations
If you want to make these scones gluten-free, swap the flour for a gluten-free blend. Make sure it has a binding agent like xanthan gum. For a vegan version, use coconut oil instead of butter and almond milk instead of heavy cream. You can also replace the egg with a flax egg if one is needed.
Seasonal Variations and Pairings
Seasonal changes invite new flavors. In winter, consider adding peppermint extract to the glaze. For spring, lemon zest brightens up the scones nicely. These scones pair well with hot drinks like chai or coffee. Serve them with a side of apple butter for a delightful treat.
Storage Info
How to Store Baked Scones
After baking, let the scones cool on a wire rack. Once cool, place them in an airtight container. This keeps them fresh for about 2-3 days. I like to layer parchment paper between scones, so they don’t stick together. You can also store them at room temperature or in the fridge.
Freezing Instructions
To freeze, wrap each scone tightly in plastic wrap. Then, place them in a freezer-safe bag. Properly stored, they last up to 3 months. Make sure to label the bag with the date. When you crave a scone, you can thaw them overnight in the fridge.
Reheating Tips for Freshness
For the best taste, reheat scones in the oven. Preheat your oven to 350°F (175°C). Place the scones on a baking sheet for about 10 minutes. This brings back their warm, fresh flavor. If you’re in a rush, you can microwave them for 20-30 seconds. Just be careful not to overheat them, or they may get dry. Enjoy your scones warm and fresh!
FAQs
What is the best way to reheat pumpkin scones?
To reheat pumpkin scones, I recommend using the oven. Preheat your oven to 350°F (175°C). Place the scones on a baking sheet. Heat them for about 5-10 minutes. This will keep them soft and warm. You can also use a microwave. Heat them for 10-15 seconds. Be careful not to overheat, as they can become tough.
Can I make these scones ahead of time?
Yes, you can make these scones ahead of time. You can prepare the dough and freeze it. Shape the scones and place them on a baking sheet. Freeze until solid, then transfer them to a freezer bag. When ready to bake, no need to thaw. Just add a few extra minutes to the baking time. You can also bake the scones in advance. Store them in an airtight container for up to 3 days.
How can I make the scones more flavorful?
To boost the flavor, try adding mix-ins. You can add chocolate chips, nuts, or dried fruit. Try using fresh herbs like rosemary for a twist. More spices can enhance the taste too. Consider adding a pinch of cloves or allspice. You can also use flavored extracts, like almond instead of vanilla. Each option gives your scones a unique touch.
This guide covered everything you need for maple glazed pumpkin scones. We explored key ingredients, step-by-step baking, and tips for the perfect texture. You can customize your scones with variations to suit your taste. Remember to store them well for fresh bites later. Enjoy experimenting with flavors and making these treats your own! Happy baking!


