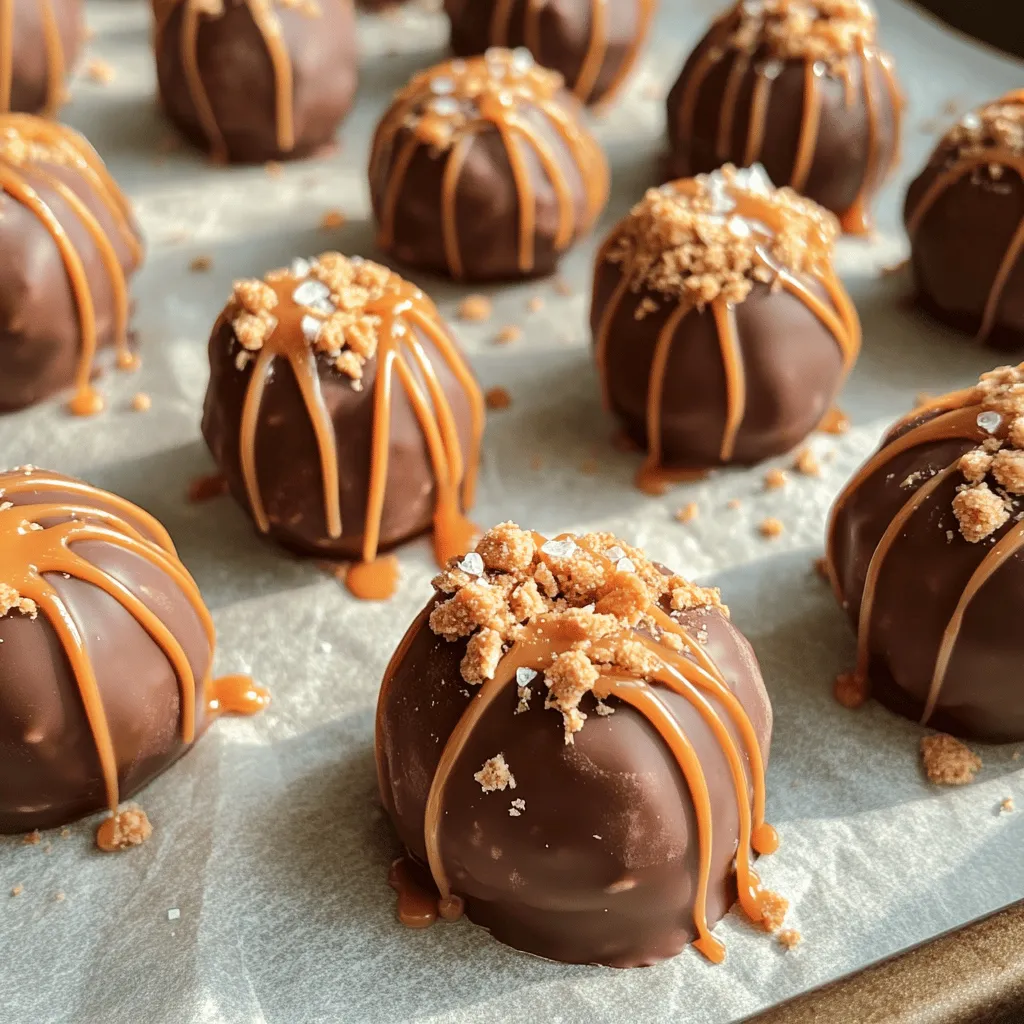
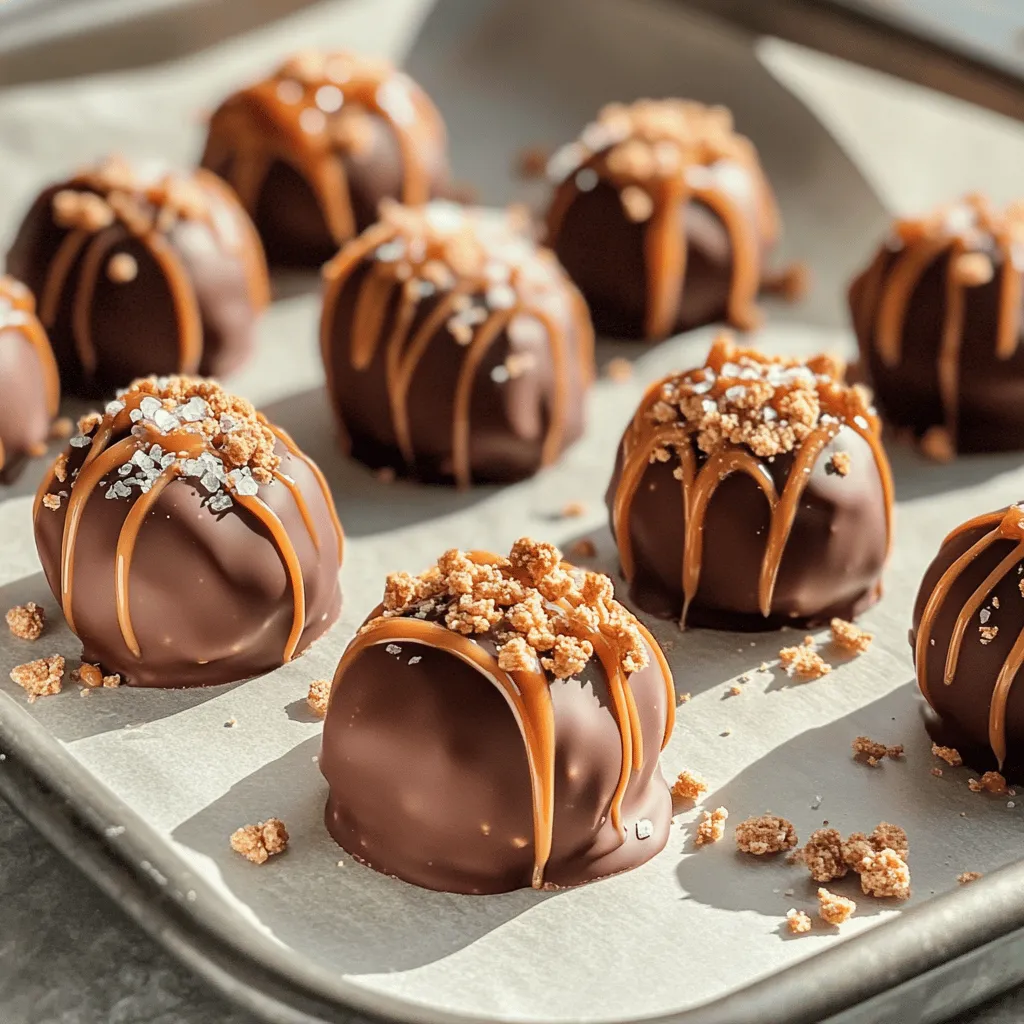
Are you craving a sweet treat that’s easy and fun to make? Look no further! In this No Bake Caramel Crunch Butterfinger Truffles recipe, I’ll guide you through a simple way to create delicious truffles that will wow your friends and family. These rich, crunchy bites are a perfect blend of caramel and chocolate, and you won’t even need to turn on your oven. Let’s dive into the fun of making these tasty delights!
Ingredients
Complete list of ingredients
– 1 cup Butterfinger candy bars, crushed
– 1 cup crushed graham crackers
– 1/2 cup smooth peanut butter
– 1/2 cup powdered sugar
– 1/4 cup caramel sauce (plus extra for drizzling)
– 1 tsp vanilla extract
– 1 cup chocolate chips (semi-sweet or milk chocolate)
– 1 tablespoon coconut oil (for melting chocolate)
– Pinch of sea salt
Quantities required
To make about 12 to 15 truffles, you need these amounts. The crushed Butterfinger gives a sweet, crunchy base. The graham crackers add texture. Peanut butter binds it all together. The powdered sugar adds sweetness. Caramel sauce enhances the flavor. Vanilla extract gives a nice touch. The chocolate chips will coat the truffles. Coconut oil helps melt the chocolate smoothly. Lastly, a pinch of sea salt balances the sweetness.
Optional ingredients for customization
You can add a few items to change the flavor. Consider adding chopped nuts for crunch. You can use almond butter instead of peanut butter. If you love spice, cinnamon can bring warmth. For a fruity twist, add dried fruit or zest from an orange. These options let you create a unique truffle. Just be sure to keep the main ingredients the same for the best results.
Step-by-Step Instructions
Preparation process
To start, grab a mixing bowl. Combine 1 cup of crushed Butterfinger candy bars, 1 cup of crushed graham crackers, and 1/2 cup of powdered sugar. Mix these dry ingredients well. Next, add 1/2 cup of smooth peanut butter, 1 tsp of vanilla extract, and 1/4 cup of caramel sauce. Stir everything together until a sticky dough forms. This dough should feel moist but not too wet.
Rolling and chilling instructions
Now, it’s time to shape the truffles. Use your hands to roll the dough into small balls, about 1 inch wide. Place them on a parchment-lined baking sheet. You should get around 12 to 15 truffles. Once you finish rolling, pop the baking sheet in the freezer. Let them chill for about 15 to 20 minutes. This helps the truffles firm up, making them easier to coat later.
Chocolate melting and coating technique
While the truffles chill, let’s melt the chocolate. Take 1 cup of chocolate chips and add 1 tablespoon of coconut oil in a microwave-safe bowl. Heat the mixture in the microwave in 30-second bursts. Stir between each burst until the chocolate is smooth and fully melted. Once melted, remove the truffles from the freezer. Use a fork to dip each truffle into the melted chocolate. Make sure each one is coated evenly. Let any extra chocolate drip back into the bowl. Place them back on the parchment-lined sheet. For an extra touch, drizzle more caramel sauce on top and sprinkle with a pinch of sea salt. Finally, chill the truffles again for about 30 minutes until the chocolate sets.
Enjoy your no-bake caramel crunch Butterfinger truffles!
Tips & Tricks
How to achieve the perfect truffle texture
To get the ideal truffle texture, you need the right balance. Mix the Butterfinger, graham crackers, and sugar well. This creates a solid base. When you add peanut butter and caramel, the mix should be sticky but not too wet. If it feels too soft, add more crushed crackers. This will help the truffles hold their shape.
Suggestions for flavor enhancements
You can make these truffles even better! Try adding a pinch of cinnamon for warmth. A dash of sea salt can enhance the sweet flavors. If you love chocolate, swap in dark chocolate chips instead. You can also add chopped nuts or shredded coconut for extra crunch.
Common mistakes to avoid
Avoid overmixing the dough. This can make your truffles tough. Also, don’t skip the chilling step. Chilling helps them firm up nicely before coating. Make sure to coat them evenly in chocolate. If you don’t let the excess drip off, they can be too messy. Lastly, don’t forget the caramel drizzle; it adds a lovely finishing touch.
Variations
Alternative candy bar options
You can mix things up by using different candy bars. Try Snickers for a nutty twist. Milky Way adds a rich caramel flavor. Reese’s Peanut Butter Cups give a smooth, nutty taste. Each option will change the taste and crunch of your truffles.
Flavor substitutions
You can switch the peanut butter for almond or cashew butter. This change gives a new flavor and texture. Adding a pinch of sea salt enhances the sweet taste. You can also mix in cocoa powder for a deeper chocolate flavor. These small swaps can make your truffles unique.
Dietary adaptations
If you want a vegan version, use dark chocolate and a plant-based butter. For gluten-free truffles, ensure your graham crackers are gluten-free. You can also use oats in place of crackers. These changes make it easier for everyone to enjoy these tasty treats.
Storage Info
Best practices for storing truffles
To keep your No Bake Caramel Crunch Butterfinger Truffles fresh, store them in an airtight container. Line the container with parchment paper. This helps prevent sticking. Place a layer of truffles, then add more parchment paper between layers. This keeps them safe and tasty.
How to freeze and thaw truffles
You can freeze these truffles to enjoy later. First, let them chill until the chocolate sets. Then, place the truffles in a single layer on a baking sheet. Freeze for about two hours. Once frozen, transfer them to an airtight container. They can stay in the freezer for up to three months. To thaw, take them out and let them sit at room temperature for about 30 minutes before serving.
Shelf life and signs of spoilage
These truffles will last in the fridge for about two weeks. Check for any signs of spoilage. If you see any mold or a strange smell, throw them away. The chocolate may also lose its shine or become dull. This can mean they are not fresh anymore. Always trust your senses when enjoying these sweet treats!
FAQs
Can I make these truffles in advance?
Yes, you can make these truffles ahead of time. They store well in the fridge for up to a week. For longer storage, freeze them. Just keep them in an airtight container. Thaw them in the fridge before serving. This way, you can enjoy them fresh without the last-minute rush.
How do I make them less sweet?
To reduce the sweetness, use dark chocolate chips instead of milk chocolate. You can also cut back on the powdered sugar. Another option is to add a pinch of sea salt. This will balance the sweet flavors and add depth. Experiment until you find the right mix for your taste.
What can I use instead of chocolate chips?
If you don’t have chocolate chips, you can use chopped chocolate bars. White chocolate or butterscotch chips work too. For a healthier option, try using cacao nibs. They add a nice crunch and a rich chocolate flavor. Just remember to adjust the sweetness if needed.
This blog post covered all you need for making truffles. We explored ingredients, step-by-step instructions, and tips for great results. I shared ways to customize flavors and how to store them properly. Remember to avoid common mistakes and try different variations. Now you have the tools to create your own tasty truffles. Enjoy this fun process and get creative!


