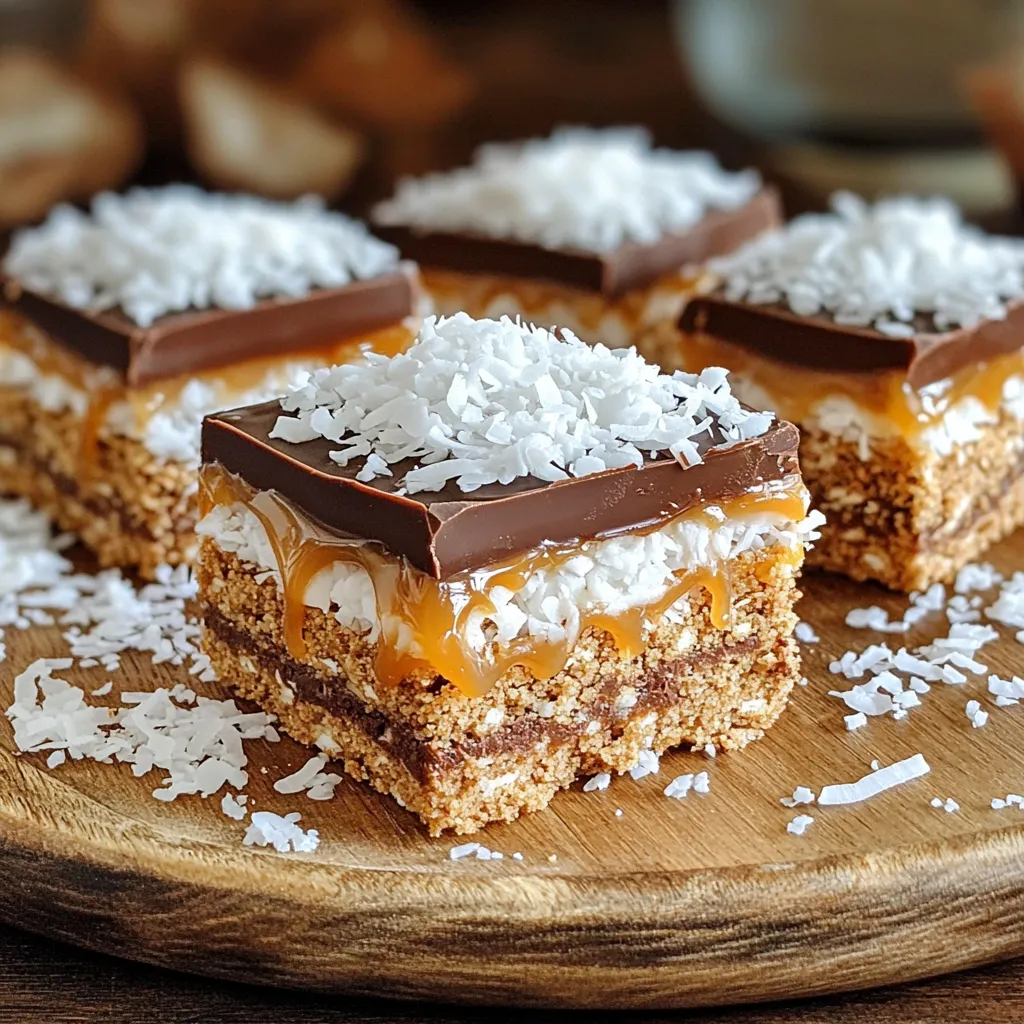
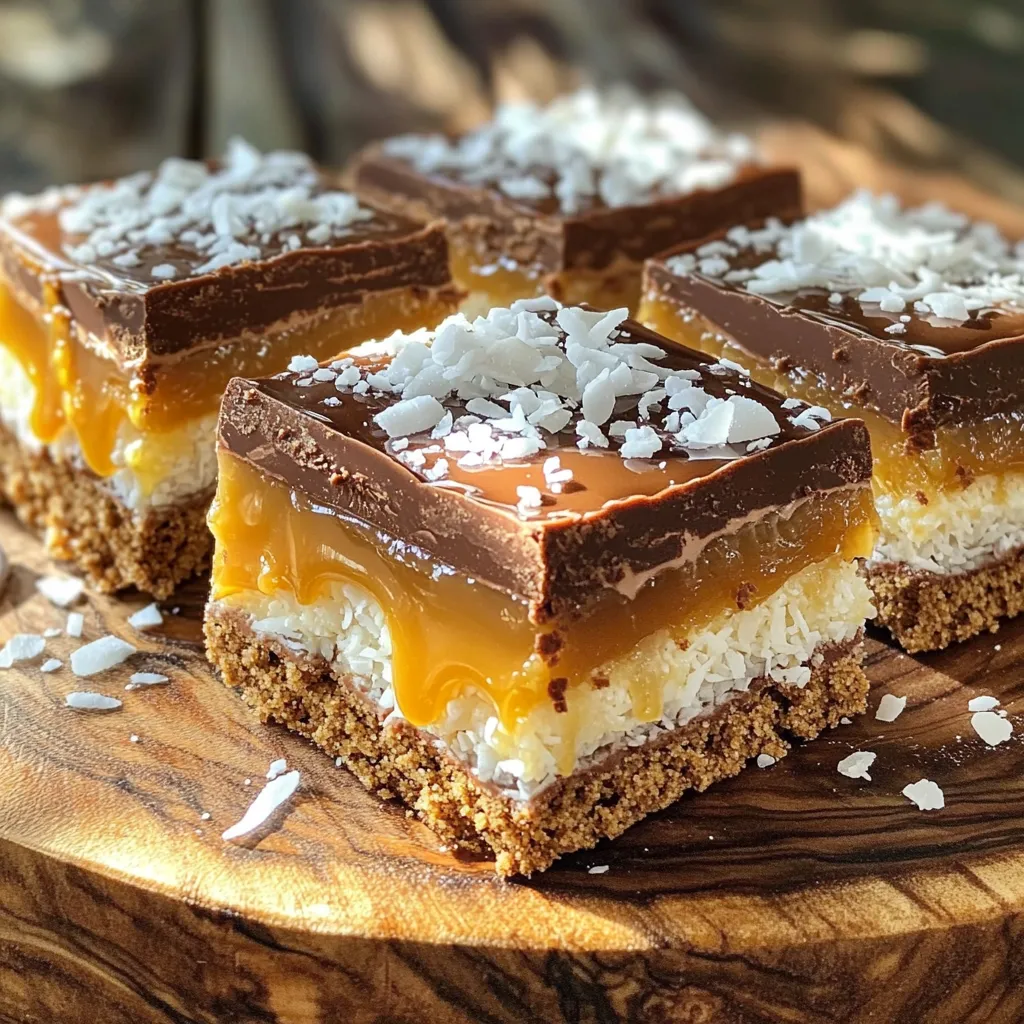
Are you ready to enjoy a sweet treat without turning on your oven? My No-Bake Samoa Cookie Bars are simple, fun, and oh-so-delicious! Packed with chocolate, caramel, and coconut, they are sure to be a crowd-pleaser. In this post, I’ll share easy ingredients, step-by-step instructions, and tips to make them perfect every time. Let’s dive in and create a snack that will impress everyone!
Why I Love This Recipe
- Easy to Make: This no-bake recipe requires minimal effort and no baking skills, making it perfect for anyone.
- Delicious Flavor Combination: The combination of chocolate, coconut, and caramel mimics the beloved Samoa cookies.
- Healthy Ingredients: With wholesome ingredients like oats and peanut butter, these bars are a healthier treat option.
- Perfect for Sharing: Cut them into squares and they make a great dessert for parties or gatherings.
Ingredients
List of Ingredients
– 1 ½ cups crushed graham crackers
– 1 cup shredded sweetened coconut
– ½ cup unsweetened cocoa powder
– ½ cup creamy peanut butter
– ⅓ cup honey or maple syrup
– ½ teaspoon vanilla extract
– 1 cup chocolate chips
– ¼ cup caramel sauce
– Sea salt for sprinkling
Measurements and Alternatives
When it comes to measurements, I use precise amounts for success. If you want, you can swap honey with maple syrup for a vegan option. You can also use almond butter instead of peanut butter if you have nut allergies. For gluten-free bars, make sure to use gluten-free graham crackers. Adjust the cocoa powder based on how chocolatey you want your bars.
Tips for Selecting Quality Ingredients
Always choose high-quality ingredients for the best flavor. Look for unsweetened cocoa powder that is rich and dark. Fresh, sweetened coconut adds a chewy texture, making each bite delightful. Use natural peanut butter without added sugars or oils for a clean taste. Lastly, select good chocolate chips for melting. They should be smooth and creamy when melted. This will give your bars a decadent finish.
Step-by-Step Instructions
Prepping the Mixture
Start by gathering your ingredients. You will need crushed graham crackers, shredded coconut, cocoa powder, peanut butter, honey or maple syrup, and vanilla extract. In a large bowl, mix the graham crackers, coconut, and cocoa powder. Make sure it’s well combined. Next, warm the peanut butter and honey in a microwave-safe bowl. Heat for about 30 seconds. Stir in the vanilla extract after it’s smooth. Pour this mix into the dry ingredients. Stir until it sticks together but is not too wet.
Pressing the Cookie Layer
Line an 8-inch square baking dish with parchment paper. Leave some paper hanging over the sides for easy removal later. Take your cookie mixture and press it firmly into the bottom of the dish. Use the back of a measuring cup to pack it down evenly. This step is key for a solid base. Make sure there are no gaps or air pockets. A well-pressed layer will make the bars hold together nicely.
Melting and Drizzling the Toppings
Now, let’s melt the chocolate. Use a small microwave-safe bowl for this. Heat the chocolate chips in 20-second intervals. Stir every time until it’s smooth. Once melted, pour the chocolate over the pressed cookie layer. Spread it evenly with a spatula. After that, drizzle caramel sauce over the top. To finish, sprinkle a pinch of sea salt. This adds a tasty contrast to the sweet flavors. Refrigerate the bars for at least one hour to set. When firm, lift the bars out using the parchment paper and cut them into squares or bars. Enjoy your delicious creation!
Pro Tips
- Chill the Peanut Butter Mixture: For easier mixing, chill the peanut butter and honey mixture in the fridge for a few minutes before combining it with the dry ingredients.
- Use Quality Chocolate: Opt for high-quality chocolate chips for melting; it makes a significant difference in flavor and texture.
- Experiment with Toppings: Feel free to add chopped nuts or drizzled chocolate on top for added texture and flavor.
- Storage Tips: Store the bars in an airtight container in the refrigerator to keep them fresh and firm longer.
Tips & Tricks
Key Tips for Success
– Use fresh coconut for the best flavor.
– Crush graham crackers into fine crumbs. This helps them bind well.
– Warm peanut butter slightly for easy mixing.
– Press the mixture firmly into your dish. This ensures a solid base.
Common Mistakes to Avoid
– Don’t skip the refrigeration step. It helps the bars set properly.
– Avoid using too much cocoa powder. It can overpower the flavors.
– Don’t rush the melting of chocolate. Stir slowly to get a smooth finish.
How to Achieve the Perfect Texture
– The mixture should feel slightly sticky but not wet.
– If too dry, add a bit more peanut butter or honey.
– For a softer texture, let the bars chill less time. If you want them firmer, chill longer.
Variations
Flavor Variations
You can switch up the flavors in these bars easily. Try different nut butters like almond or cashew. Each nut butter gives a unique taste. You can also use flavored coconut flakes. Toasted coconut adds a nice crunch. For a chocolate lover’s dream, mix in chocolate chips or chunks. You can even add a pinch of cinnamon for warmth.
Dietary Alternatives
These bars can fit many diets. For a vegan version, swap the honey for maple syrup. Use a plant-based nut butter to keep it vegan. To make them gluten-free, choose gluten-free graham crackers. Many brands offer great options. Always check labels to ensure they meet your needs.
Serving Suggestions and Pairings
These bars shine on their own but pair nicely with drinks. Serve them with a glass of almond milk or coconut milk. For coffee lovers, a strong cup of coffee balances the sweetness. You can also add fresh fruit for a bright touch. Try strawberries or raspberries on the side. If you want a rich treat, serve with a scoop of vanilla ice cream on top.
Storage Info
Best Storage Methods
To keep your No-Bake Samoa Cookie Bars fresh, store them in an airtight container. Place parchment paper between layers to avoid sticking. This way, the bars stay intact and tasty. You can also wrap them tightly in plastic wrap. Always keep them in a cool place, like your fridge.
Shelf Life and Freezing Options
These cookie bars last about a week in the fridge. If you need them to last longer, freeze them. Cut the bars into squares before freezing. Place them in a freezer-safe bag or container. They can last up to three months in the freezer. When ready to eat, simply thaw them in the fridge overnight.
How to Reheat or Refresh
No need to reheat these bars since they taste great cold. If they feel a bit hard from the fridge, let them sit at room temp for a few minutes. This will help soften them up. Enjoy these sweet treats as a cool snack anytime!
FAQs
Can I use a different type of nut butter?
Yes, you can use different nut butters. Almond butter or cashew butter works well. Just make sure it is creamy. The flavor might change a bit, but it will still be tasty.
How long do No-Bake Samoa Cookie Bars last?
No-Bake Samoa Cookie Bars last about one week in the fridge. Make sure to store them in an airtight container. You can also freeze them for up to three months. Just wrap them well before freezing.
What can I substitute for honey or maple syrup?
You can use agave syrup or brown rice syrup as a substitute. Both will add sweetness and work great in this recipe. If you want a sugar-free option, consider using a sugar substitute made for baking.
This blog post covers all you need to know to make No-Bake Samoa Cookie Bars. We discussed ingredient choices, the precise steps for making them, and tips for success. You learned how to play with flavors and adjust for diets, ensuring everyone can enjoy these treats. By storing them right, you can keep them fresh for longer.
Embrace these ideas, and you’ll make cookie bars that impress everyone. Enjoy creating tasty treats that are fun and easy!


