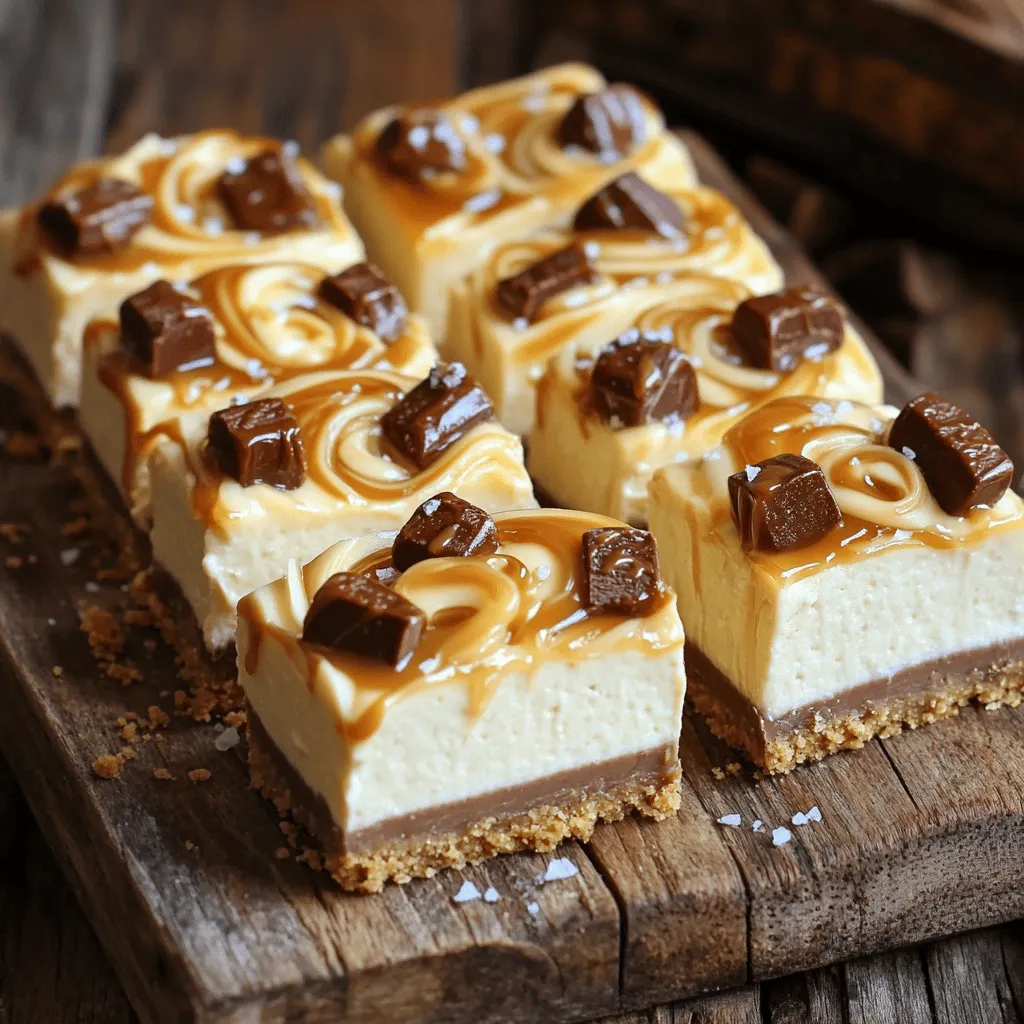
If you love a sweet treat without turning on the oven, you’re in for a joy! My No-Bake Snickers Cheesecake Bars are a perfect dessert that combines the creamy goodness of cheesecake with the chewy chunks of Snickers. Easy to make and oh-so-delicious, these bars will wow your friends and family. Let’s dive into this tasty recipe to create your new favorite dessert!
Why I Love This Recipe
- Easy to Make: This no-bake cheesecake bars recipe requires minimal effort, making it perfect for those busy days when you want a delicious dessert without the fuss.
- Decadent Flavor: The combination of cream cheese, Snickers, caramel, and chocolate creates a rich and indulgent flavor profile that is hard to resist.
- Perfect for Sharing: These bars are easy to cut into portions, making them an ideal treat for parties, gatherings, or even just a family dessert night.
- Customizable: You can easily adapt this recipe by adding your favorite candies or toppings, allowing you to make it your own.
Ingredients
Detailed Ingredient List
– 1 ½ cups graham cracker crumbs
– ½ cup unsalted butter, melted
– 8 oz cream cheese, softened
– ½ cup powdered sugar
– 1 teaspoon vanilla extract
– 1 cup whipped topping
– 2 medium-sized Snickers bars, chopped
– ½ cup caramel sauce
– ½ cup chocolate sauce
– A pinch of sea salt (optional)
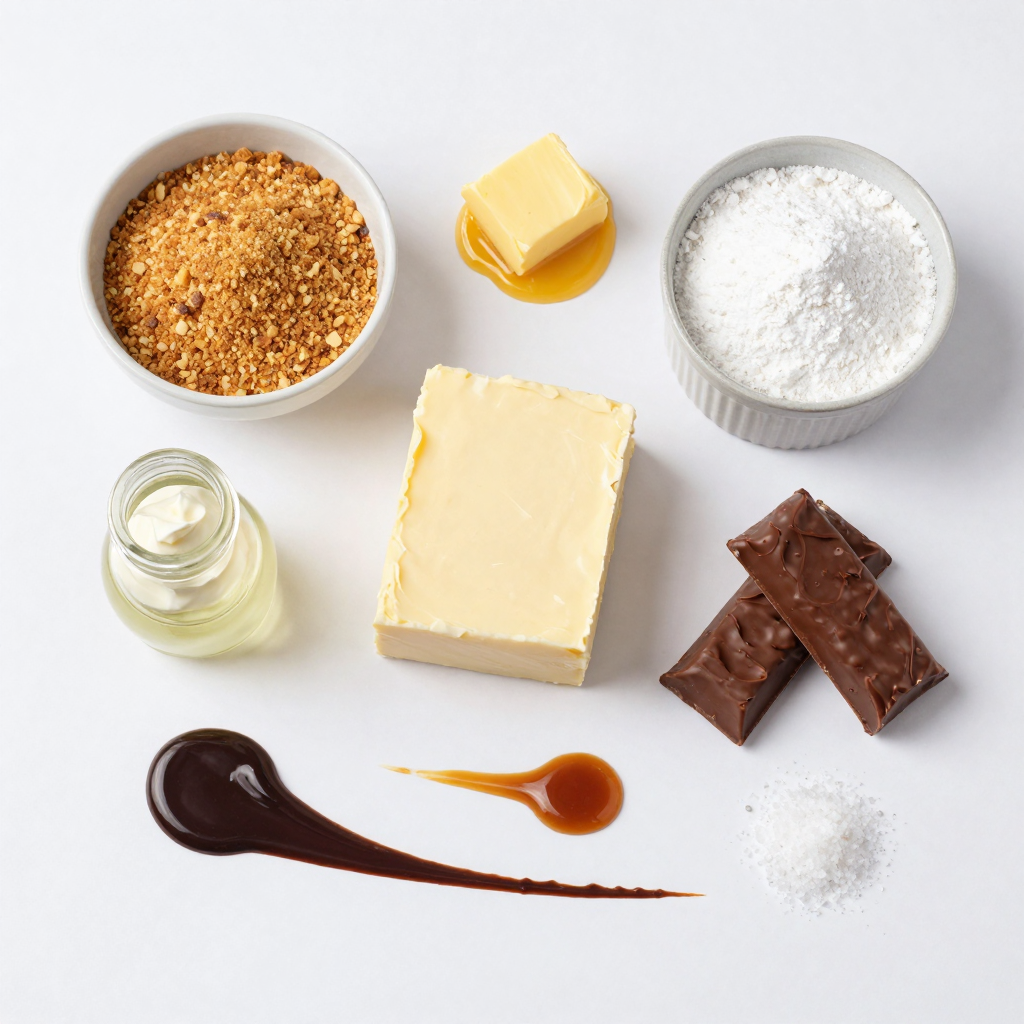
The first step in making No-Bake Snickers Cheesecake Bars is gathering your ingredients. Each item plays a key role in creating this sweet treat.
Graham cracker crumbs form the base. They give a nice crunch and balance the creamy filling. You will need 1 ½ cups for the crust.
Unsalted butter helps bind the crumbs. Melt ½ cup of it before mixing with the crumbs. This will create a rich texture.
Cream cheese is essential for the filling. It adds creaminess and flavor. Use 8 ounces of softened cream cheese for best results.
Powdered sugar sweetens the cheesecake layer. You will need ½ cup. It mixes well with the cream cheese.
Vanilla extract adds a warm flavor. Just 1 teaspoon is enough to enhance the dessert.
Whipped topping makes the filling light and fluffy. You need 1 cup for that perfect texture.
Snickers bars add the signature taste. Chop up 2 medium-sized bars and mix them in. Save some pieces for topping.
Caramel sauce gives a sweet drizzle. You will need ½ cup to add that gooey goodness.
Chocolate sauce complements the caramel. Use another ½ cup for a rich finish.
Finally, add a pinch of sea salt if you like. It balances the sweetness and enhances the flavors.
With these ingredients ready, you can make a delicious No-Bake Snickers Cheesecake Bar. Each ingredient brings something special to the table.
Step-by-Step Instructions
Preparing the Crust
– First, mix 1 ½ cups of graham cracker crumbs with ½ cup of melted unsalted butter in a medium bowl. Make sure you blend it well. The mixture should feel crumbly yet hold together when pressed.
– Next, take a greased 9×9 inch baking dish. Press the crumb mixture firmly into the bottom. Use your hands or the back of a spoon for even distribution.
Making the Cheesecake Layer
– Now, in a large mixing bowl, beat 8 oz of softened cream cheese with a hand mixer. Aim for a smooth and fluffy texture.
– Gradually add in ½ cup of powdered sugar and 1 teaspoon of vanilla extract. Mix until the blend is creamy and well combined.
– Gently fold in 1 cup of whipped topping. Be careful to keep it light and fluffy. Then, stir in 2 chopped Snickers bars, but save some for later.
Assembling the Bars
– Spread the cream cheese mixture evenly over the crust you just made. Make sure it covers every part of the crust.
– Drizzle ½ cup of caramel sauce and ½ cup of chocolate sauce on top. Use a toothpick to swirl the sauces together for a nice marbled look.
– Finish by sprinkling the reserved Snickers pieces over the top. This adds a nice crunch and extra flavor.
Pro Tips
- Use Room Temperature Cream Cheese: Ensuring your cream cheese is at room temperature will make it easier to blend smoothly, resulting in a creamy cheesecake filling without lumps.
- Chill for Maximum Flavor: Allowing the cheesecake bars to chill for at least 4 hours, or overnight if possible, will enhance the flavors and help the texture set perfectly.
- Customize Your Toppings: Feel free to get creative with toppings! Try adding chopped nuts, whipped cream, or even a sprinkle of sea salt for a sweet and salty combination.
- Keep It Neat When Cutting: For cleaner cuts, use a sharp knife and wipe it with a damp cloth between cuts to keep the edges of the bars looking tidy.
Tips & Tricks
Achieving the Perfect Texture
To get the best texture, the cream cheese must be softened. Softened cream cheese mixes well and becomes fluffy. If it’s cold, the mixture will be lumpy. Let it sit at room temperature for 30 minutes. When you beat it, it will blend easily.
When you add the whipped topping, do it gently. Folding keeps the air in the mixture, making it light. Use a spatula to mix, and be careful not to stir too hard. This step is key to creamy bars.
Serving Suggestions
For a special touch, drizzle extra caramel and chocolate sauce on each slice. It adds more flavor and looks nice. A sprinkle of sea salt also boosts the taste. The salt plays well with the sweet flavors.
If you want to impress guests, create a stunning presentation. Place the bars on a nice plate. Add fresh fruit or whipped cream on the side. This small effort makes a big difference at parties.
Common Mistakes to Avoid
One mistake many make is overmixing the cream cheese mixture. Overmixing can make the bars dense. It’s best to mix just until everything is combined.
Another mistake is not letting the bars set long enough. They need at least four hours in the fridge. If removed too soon, they will be too soft to cut. Make sure to be patient for the best results.
Variations
Ingredient Substitutions
You can easily tweak the recipe to fit your needs. For a gluten-free option, swap regular graham crackers for gluten-free ones. They work great and keep the same taste. If you want to change the toppings, try adding peanut butter or chopped nuts. They add a nice crunch and flavor twist.
Flavor Variations
Feel free to play with different candy bars. You can mix in Reese’s, Twix, or even M&M’s for a fun change. Each candy brings a unique taste. You can also use flavored cream cheese, like caramel or strawberry. This change can brighten up the cheesecake and make it even more special.
Seasonal Twists
Seasonal flavors are a fun way to mix things up. In fall, you can add pumpkin spice to the mixture. This gives a warm and cozy vibe. For winter, try adding peppermint extract for a fresh, minty taste. These twists can make your dessert feel new and exciting all year round.
Storage Info
How to Store Leftovers
To keep your No-Bake Snickers Cheesecake Bars fresh, store them in the fridge. Place the bars in an airtight container. Make sure they are tightly covered to prevent drying out. You can also use plastic wrap if you don’t have a container. These bars can last up to five days in the fridge.
If you want to store them for longer, freeze the bars. Cut them into pieces before freezing. Wrap each piece in plastic wrap, then place them in a freezer-safe bag. This way, they won’t stick together. You can store them for up to three months in the freezer.
Shelf Life
These tasty bars can last in the fridge for about five days. After that, they may lose flavor and texture. Signs of spoilage include a sour smell or changes in color. If you see any changes, it’s best to throw them away. If frozen, they can last up to three months. Just remember that the longer they sit, the more they may lose quality.
Thawing Instructions
To thaw frozen bars, move them to the fridge for a few hours. This slow method keeps them from getting too soft. You can also leave them out at room temperature for about 30 minutes. Once thawed, the bars are ready to serve. For a special touch, drizzle extra caramel and chocolate sauce on top. Enjoy them cold for a refreshing treat!
FAQs
Can I use other types of candy bars for this recipe?
Yes, you can! Feel free to swap in your favorite candy bars. Reese’s, Milky Way, or even chopped Kit Kats work great. Just remember to adjust the toppings to match the new flavors. Mixing and matching can lead to fun surprises in taste!
How long do No-Bake Snickers Cheesecake Bars need to set?
The bars need to chill for at least 4 hours. This helps them firm up nicely. For the best results, I recommend letting them set overnight. This way, the flavors blend better, and they become easier to cut.
Is there a dairy-free version of this recipe?
Yes! You can make a dairy-free version by using dairy-free cream cheese and whipped topping. There are many great alternatives available now. Just check the labels to ensure they fit your needs. The rest of the recipe stays the same!
Can I make these ahead of time?
Absolutely! These bars are perfect for making ahead. They store well in the fridge for up to a week. Just cover them tightly with plastic wrap. This way, you can enjoy them whenever you want without the last-minute rush!
You learned how to make delicious No-Bake Snickers Cheesecake Bars. We covered each ingredient and showed how to mix, assemble, and store the bars. Remember to soften your cream cheese for the best texture. Avoid overmixing and let them set properly for a tasty treat. These bars are perfect for any gathering and are easy to customize. Enjoy your baking adventure, and don’t hesitate to experiment with flavors and toppings. Happy baking!


