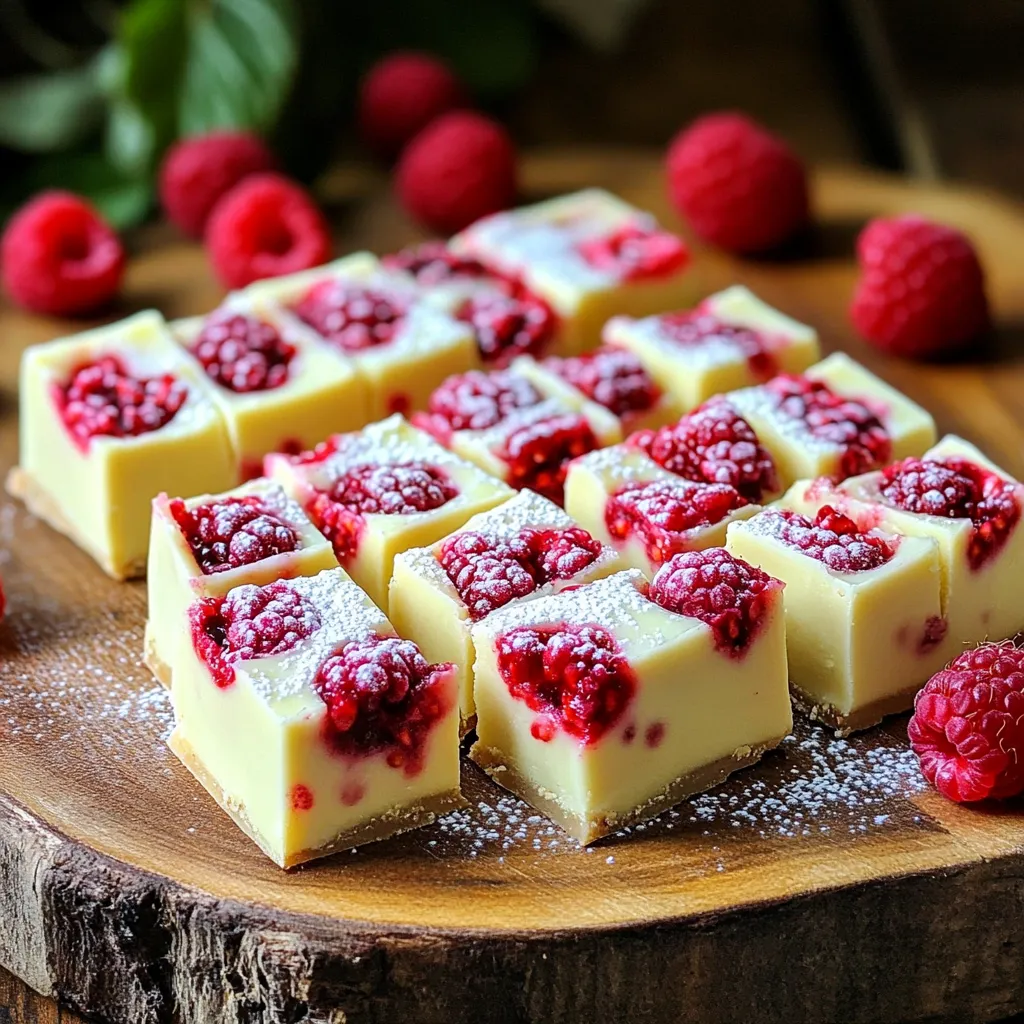
Are you ready to satisfy your sweet tooth with a treat that’s as easy as it is delicious? In this article, I’ll guide you through making No-Bake White Chocolate Raspberry Fudge. You’ll use just a few simple ingredients—like white chocolate chips and fresh raspberries—to create a rich, creamy delight. Perfect for sharing (or keeping all to yourself!), this fudge is a treat anyone can master. Let’s get started!
Why I Love This Recipe
- Simple and Quick: This no-bake fudge recipe comes together in just 15 minutes, making it perfect for last-minute cravings or gatherings.
- Deliciously Creamy: The combination of white chocolate and sweetened condensed milk creates a rich, creamy texture that melts in your mouth.
- Fresh Flavor: The addition of fresh raspberries adds a burst of fruity flavor, balancing the sweetness of the fudge beautifully.
- Customizable: You can easily adapt this recipe by adding nuts, different fruits, or even flavor extracts to suit your taste.
Ingredients
List of Ingredients
– 2 cups white chocolate chips
– 1 can (14 oz) sweetened condensed milk
– 1 teaspoon vanilla extract
– 1 cup fresh or frozen raspberries
– 1/2 cup powdered sugar
– Pinch of salt
– Optional: Extra raspberries for topping
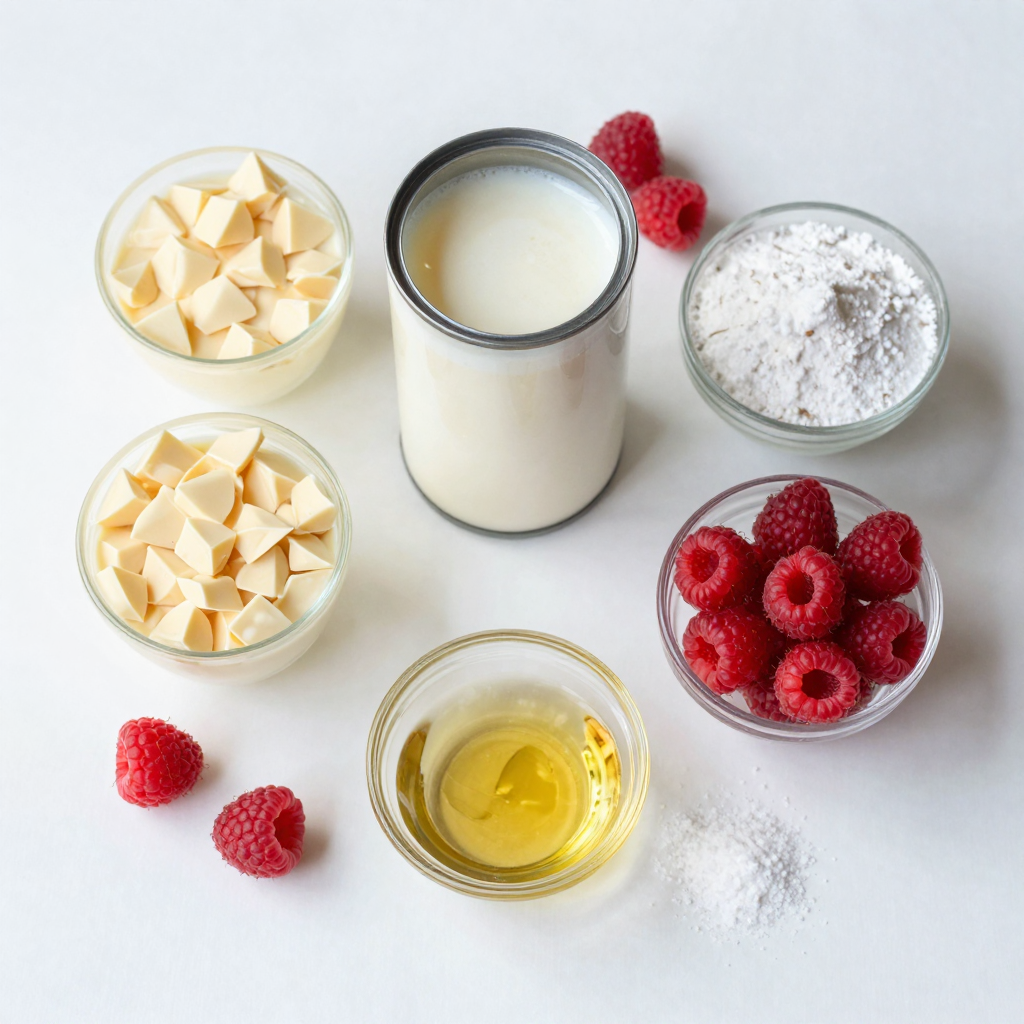
You need just a few simple items to make this fudge. The main star is white chocolate chips. They bring a creamy flavor to the treat. Sweetened condensed milk adds sweetness and smoothness. Together, they melt beautifully.
Next, grab some vanilla extract. It gives a warm touch to the fudge. You can use fresh raspberries or frozen ones. If you choose frozen, make sure they are thawed. They add a fruity burst to each bite.
Powdered sugar thickens the fudge and adds sweetness. Just a pinch of salt balances the flavors.
Finally, you can add extra raspberries on top for decoration. This step makes the fudge look fancy. You can find all these ingredients in your local store. Enjoy the fun of gathering everything for your no-bake treat!
Step-by-Step Instructions
Preparing the Baking Dish
Start by lining an 8×8-inch baking dish with parchment paper. Make sure the paper hangs over the edges. This helps you lift the fudge out later. Smooth the paper so it fits snugly. This step is easy but very important for easy removal.
Melting the Chocolate Mixture
Next, take a medium saucepan and set it on low heat. Add 2 cups of white chocolate chips and 1 can of sweetened condensed milk. Stir constantly until the mix turns smooth and creamy. This should take about five minutes. Remove it from the heat, then add 1 teaspoon of vanilla extract and a pinch of salt. Mix well. This mixture will be the base of your fudge.
Folding in Raspberries and Mixing
Now, grab 1 cup of fresh raspberries. Gently fold these into your melted chocolate mixture. Be careful not to mash them too much. You want to keep some whole for texture. Next, sift in 1/2 cup of powdered sugar. Stir until everything is well combined. The fudge should be thick but still pourable.
Pouring and Refrigerating the Fudge
Pour the fudge mixture into your prepared baking dish. Use a spatula to spread it evenly. If you like, scatter extra raspberries on top for a nice touch. Now, cover the dish with plastic wrap and place it in the fridge. Let it chill for at least 4 hours, or until it sets firm.
Cutting and Serving
Once your fudge is set, take it out of the fridge. Use the parchment paper to lift the fudge from the dish. Place it on a cutting board and cut it into squares. For a special touch, serve it on a nice platter. You can add a sprinkle of powdered sugar on top for extra flair. Enjoy your delicious no-bake fudge!
Pro Tips
- Use Quality Chocolate: The flavor of your fudge heavily relies on the quality of the white chocolate chips. Opt for a high-quality brand for the best results.
- Chill for Perfect Texture: Allowing the fudge to set in the refrigerator for at least 4 hours will ensure a firm and sliceable texture.
- Fresh vs Frozen Raspberries: If using frozen raspberries, make sure to thaw and drain them well to avoid excess moisture in your fudge.
- Presentation Matters: For an elegant touch, serve your fudge on a decorative platter with fresh raspberries and a dusting of powdered sugar.
Tips & Tricks
How to Achieve the Perfect Texture
To get the best texture for your fudge, keep a few tips in mind. First, melt the white chocolate chips and sweetened condensed milk slowly. Use low heat and stir a lot. This helps the mixture stay smooth and creamy. After mixing in the raspberries, the fudge should feel thick but still pourable. If it’s too runny, add a bit more powdered sugar. This will help thicken it up.
Suggestions for An Even More Flavorful Fudge
Add a twist to your fudge by mixing in some zest. Grate a little lemon or orange peel into the mix. This adds a nice citrus flavor that pairs well with the raspberries. You can also try adding a splash of almond extract for a nutty taste. If you love texture, consider folding in chopped nuts like almonds or walnuts. They add a nice crunch.
Storage and Serving Recommendations
Store your fudge in an airtight container to keep it fresh. Place parchment paper between layers to prevent sticking. You can keep it in the fridge for about two weeks. For serving, cut the fudge into small squares for easy sharing. Present it on a pretty platter with extra raspberries on top. A sprinkle of powdered sugar gives it a lovely finish. Enjoy your tasty treat!
Variations
Alternate Flavor Combinations
You can change the flavor of this fudge easily. Swap white chocolate for dark chocolate for a rich twist. Try adding orange zest for a citrus touch. Mint extract can give a fresh vibe. Each change makes the fudge unique and fun.
Dietary Modifications
If you need gluten-free fudge, this recipe already fits! Use brands of white chocolate that are gluten-free. For a vegan option, choose dairy-free chocolate and plant-based sweetened condensed milk. This way, everyone can enjoy a tasty treat.
Additional Mix-ins
Mix-ins add more fun to your fudge. Toss in nuts like almonds or walnuts for crunch. Coconut flakes can bring a tropical taste. You could even add mini chocolate chips for extra sweetness. Be creative and make it your own!
Storage Info
Best Practices for Storing Fudge
Storing your fudge right keeps it tasty and fresh. Start by cutting the fudge into squares. Use a clean, airtight container. Place a piece of parchment paper between layers to prevent sticking. Keep your fudge in the fridge for the best texture and taste.
Freezing Instructions
You can freeze the fudge if you want to keep it longer. Wrap each piece in plastic wrap. Then, place them in a freezer-safe container or bag. Make sure to label it with the date. Your fudge can last up to three months in the freezer.
Shelf Life and Freshness Tips
When stored properly, the fudge stays fresh for about two weeks in the fridge. After that, it may lose some flavor and texture. If it starts to look dry or hard, it’s time to toss it. You can check for freshness by tasting a small piece. If it tastes good, enjoy it!
FAQs
What can I substitute for white chocolate chips?
You can use any white chocolate bar instead of chips. Just chop it into small pieces. You can also try carob chips for a different taste. Both options will melt well and work great in this fudge.
How long does it take for the fudge to set?
The fudge needs at least four hours to set in the fridge. I recommend leaving it overnight for the best results. This will help the fudge become firm and easy to slice.
Can I use frozen raspberries in this recipe?
Yes, you can use frozen raspberries. Just make sure to thaw and drain them first. This keeps excess moisture from making the fudge too wet. Using fresh raspberries will give a brighter flavor, but frozen ones work well too.
How do I know when the fudge is ready to cut?
The fudge is ready when it feels firm to the touch. It should hold its shape when you lift it from the dish. If it feels soft or wobbly, give it more time in the fridge. Once firm, you can cut it into squares.
This blog post shared a simple way to make raspberry fudge using just a few ingredients. We explored the key components, from white chocolate chips to fresh raspberries. I provided steps for making the fudge and tips for getting the best texture. You can even try different flavors or mix-ins. Remember, proper storage keeps your fudge fresh longer. Now you have the tools to create your own delicious treat. Enjoy making and sharing this fun dessert with family and friends!


