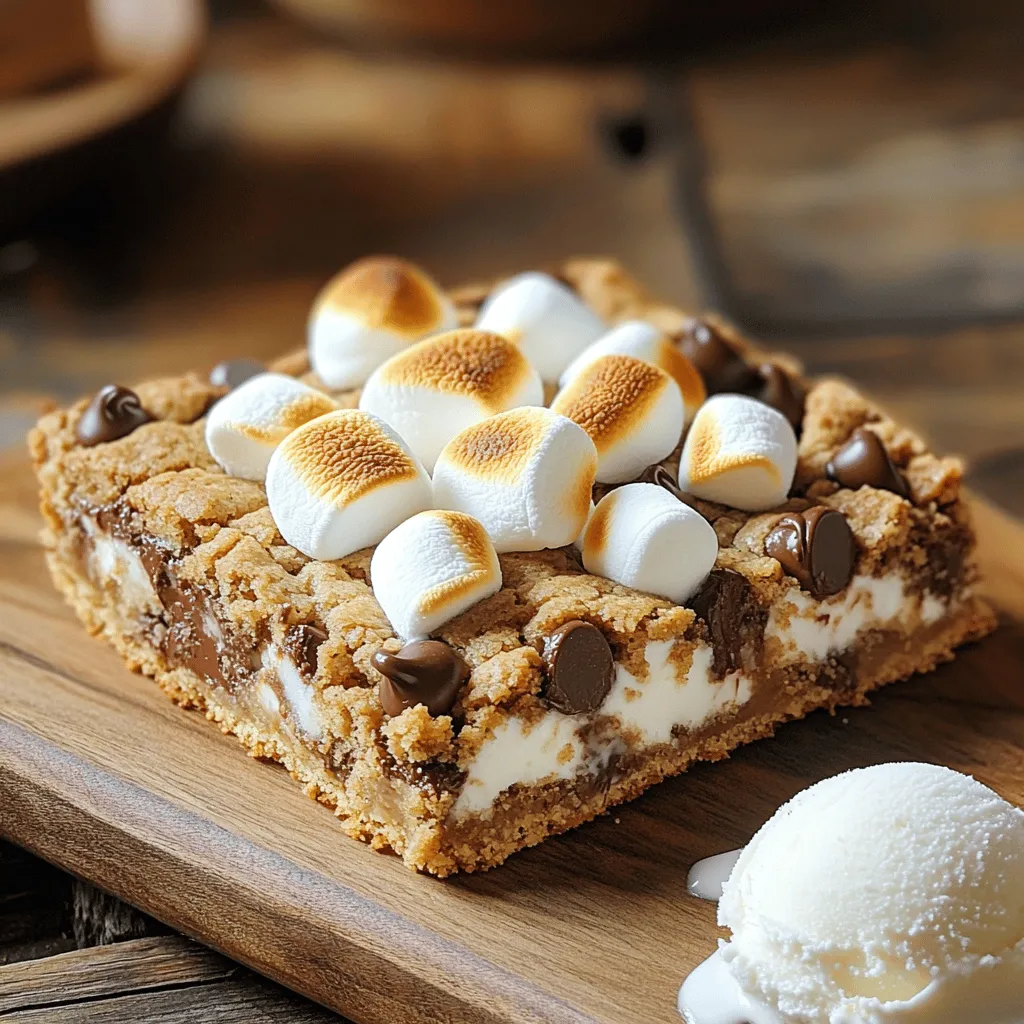
If you love the taste of classic s’mores but want a new twist, you’re in luck! My easy S’mores Cookie Bars recipe brings together the rich flavors of chocolate, marshmallows, and graham crackers in one gooey treat. Perfect for sharing or a sweet snack, these bars are simple to make and sure to please everyone. Let’s dive into the ingredients and steps to create this delightful dessert!
Why I Love This Recipe
- Decadent Flavor: These S’mores Cookie Bars combine the rich taste of chocolate, buttery cookies, and gooey marshmallows, creating a delightful treat that satisfies your sweet cravings.
- Easy to Make: This recipe is simple and straightforward, making it perfect for both novice and experienced bakers alike.
- Perfect for Sharing: Cut them into squares and serve at parties, picnics, or family gatherings; these bars are sure to impress a crowd!
- Customizable: You can easily adapt this recipe by adding different mix-ins or toppings according to your preferences, making each batch unique!
Ingredients
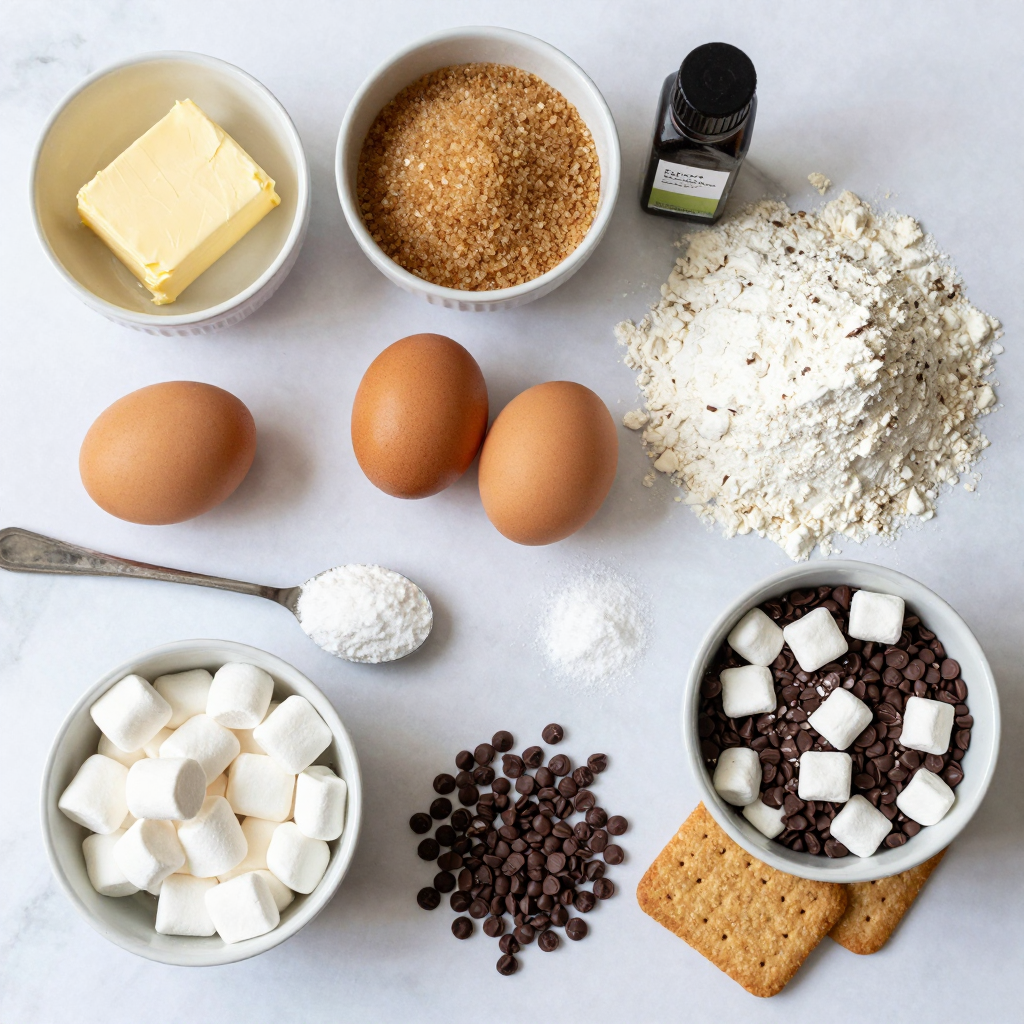
List of Ingredients for S’mores Cookie Bars
– 1 cup unsalted butter, softened
– 1 cup brown sugar, packed
– 1/2 cup granulated sugar
– 2 large eggs
– 2 teaspoons vanilla extract
– 2 1/2 cups all-purpose flour
– 1 teaspoon baking soda
– 1/2 teaspoon salt
– 1 1/2 cups semi-sweet chocolate chips
– 1 cup mini marshmallows
– 1 cup crushed graham crackers (about 8 full sheets)
– Additional chocolate chips and marshmallows for topping
These ingredients make a great combination for S’mores Cookie Bars. They bring together sweet, creamy, and crunchy flavors.
Common Ingredients Substitutions
– Butter alternatives: You can use coconut oil or margarine if you need a dairy-free option.
– Brown sugar variations: Light brown sugar works well, but you can use dark brown for a richer taste.
– Gluten-free options: Use a gluten-free flour blend to replace all-purpose flour.
Feel free to explore these substitutions based on your needs. Each swap may change the taste or texture slightly, so have fun experimenting!
Step-by-Step Instructions
Preparation Steps for S’mores Cookie Bars
First, preheat your oven to 350°F (175°C). This helps bake the bars evenly. Next, grease a 9×13 inch baking dish or line it with parchment paper. This makes it easy to lift the bars out later.
Mixing the Batter
In a large mixing bowl, cream together the softened butter, brown sugar, and granulated sugar. Use a mixer for about 2-3 minutes until it’s light and fluffy. After that, add the eggs one at a time. Mix well after each egg. Then, pour in the vanilla extract and stir until it’s all combined.
Combining Dry and Wet Ingredients
In another bowl, whisk together the all-purpose flour, baking soda, and salt. Slowly add this dry mix to the wet ingredients. Mix until it’s just combined. Then, fold in the semi-sweet chocolate chips, mini marshmallows, and crushed graham crackers. Make sure everything is evenly mixed in.
Assembling and Baking the Bars
Spread half of the batter into the prepared baking dish. Press it down to create an even layer. Sprinkle 1/2 cup of extra chocolate chips and mini marshmallows on top. Then, dollop the rest of the cookie batter over this layer. Try to spread it out as much as you can. Finally, top with any remaining chocolate chips and marshmallows for extra flavor. Bake in the preheated oven for 25-30 minutes. Check that the edges are golden brown and the center is set. A toothpick may come out with some gooey chocolate, and that’s okay. Let the bars cool in the dish before cutting them into squares.
Pro Tips
- Chill the Dough: For thicker bars, chill the cookie dough in the refrigerator for 30 minutes before baking. This helps control spread and enhances flavor.
- Use Fresh Ingredients: Ensure your marshmallows and chocolate chips are fresh for the best taste and texture in your cookie bars.
- Customize Your Toppings: Feel free to mix in other toppings like peanut butter chips or caramel bits for a unique twist on traditional s’mores.
- Store Properly: Keep any leftovers in an airtight container at room temperature for up to a week to maintain freshness.
Tips & Tricks
Achieving the Perfect Texture
To get soft, chewy bars, use room temperature butter. This helps the butter mix well with the sugars, creating a smooth batter. Be careful with baking time. If you take the bars out too early, they may fall apart. A toothpick should come out with a bit of gooey chocolate, which means they are just right.
Common Mistakes to Avoid
One common mistake is overmixing the batter. This makes the bars tough instead of soft. Mix only until the dry ingredients are combined. Another mistake is using expired ingredients. Always check the dates on eggs and baking soda to make sure they are fresh.
Enhancing Flavor and Texture
You can add extra toppings for more flavor. Try using peanut butter chips or butterscotch chips along with the chocolate. You can also use different types of chocolate. Dark chocolate can give a rich taste, while white chocolate adds sweetness. Mix and match to find your favorite combo.
Variations
Different Flavor Combinations
You can switch up S’mores Cookie Bars with fun flavors. One great option is peanut butter. Just add half a cup of creamy peanut butter to your batter. This twist gives you that nutty flavor, pairing perfectly with chocolate and marshmallows. Another tasty choice is mint chocolate. Use mint chocolate chips instead of semi-sweet ones. It adds a refreshing taste that surprises your taste buds.
Seasonal Variations
As the seasons change, so can your S’mores Cookie Bars. In the fall, try pumpkin spice bars. Just add pumpkin spice to the batter. This makes them warm and cozy, perfect for chilly days. For the holidays, consider holiday-themed cookie bars. You can use red and green sprinkles or even crushed candy canes. These fun additions make your treats festive and bright, ideal for sharing at holiday gatherings.
Dietary Variations
If you follow a special diet, you can still enjoy these bars. For vegan S’mores Cookie Bars, replace eggs with flaxseed meal and use vegan butter. These swaps keep the flavor while meeting your needs. You can also create low sugar options. Use a sugar substitute like stevia or monk fruit. This way, you can satisfy your sweet tooth while keeping sugar in check.
Storage Info
How to Store S’mores Cookie Bars
To keep your S’mores cookie bars fresh, store them at room temperature. Place them in an airtight container. They stay soft and chewy this way. You can enjoy them for up to five days. If you like them cold, pop them in the fridge. They will last about a week when chilled. Just remember, the bars may become a bit firmer in the fridge.
Freezing Guidance
Freezing is a great option if you want to save some bars for later. First, let the bars cool completely. Then, cut them into squares. Wrap each square in plastic wrap. Place all wrapped squares in a freezer bag or container. Try to remove as much air as possible. These bars can last up to three months in the freezer. When you are ready to enjoy, take out the bars. Thaw them in the fridge overnight or at room temperature for a few hours. You can also warm them up in the oven for a gooey treat.
FAQs
How do I keep S’mores Cookie Bars from becoming too dry?
To keep your S’mores Cookie Bars moist, focus on a few key tips:
– Do not overbake. Keep an eye on the timer. Pull them out when the edges turn golden.
– Use room temperature butter. This helps create a creamy texture that keeps moisture in.
– Add extra marshmallows. They melt and add moisture. Try adding an extra half cup!
– Store properly. Keep them in an airtight container. This helps retain softness.
Can I make S’mores Cookie Bars ahead of time?
Yes, you can prepare these bars in advance! Here are some tips:
– Make the dough ahead. You can mix it and refrigerate it for up to 24 hours.
– Bake and freeze. You can bake them, let them cool, and then freeze in an airtight container.
– Defrost before serving. The bars taste best when they are fresh. Let them sit at room temperature for a bit.
What is the best way to cut these cookie bars?
To cut S’mores Cookie Bars evenly, use these tools and techniques:
– Use a sharp knife. A clean cut makes for nice squares.
– Warm the knife. Run it under hot water, then dry it. This helps it glide through the bars.
– Cut while cool. Wait until they cool completely for clean slices. This prevents the bars from crumbling.
Are there gluten-free S’mores Cookie Bars?
Yes, you can make gluten-free S’mores Cookie Bars! Here are some ideas:
– Use gluten-free flour. Substitute all-purpose flour with a 1:1 gluten-free blend.
– Check your chocolate. Ensure the chocolate chips are gluten-free. Most brands are!
– Graham cracker swaps. Use gluten-free graham crackers or crumbs to keep that classic flavor.Enjoy your baking!
S’mores cookie bars are a treat that combines classic flavors with simple steps. You learned the key ingredients, including butter, sugars, and mini marshmallows. I shared tips to get the perfect texture and avoid common mistakes. You can even explore delicious variations and storage methods.
Remember, these bars are fun to bake and share. With a few swaps, you can fit any diet. Enjoy baking, and let these bars bring a smile to your face!


